
A suit photoshoot for menswear is the least forgiving shoot in a fashion catalogue. A shirt can hide a small crease and a kurta can drape its way out of a fit problem, but a blazer shows every collapsed shoulder, every pulled button and every lapel that rolls the wrong way. That is why tailoring needs its own poses, its own fit checks and its own close-ups, and why our male model photography team plans formalwear differently from casual wear.
At Uniqs Studio, Satyam and the team have shot menswear for D2C labels and marketplace sellers for over 9 years, and the wedding and winter season is when suits, blazers and bandhgalas move the most. This guide is written for menswear and formalwear brands, wedding-wear labels and marketplace sellers of suits and blazers. You will learn how to prepare tailoring before the shoot, the 10 poses every suit catalogue needs, the fit checks to run before every frame and the fabric close-ups that justify a premium price.
- A suit photoshoot for menswear sells fit and fabric; the poses exist to show the shoulder line, button stance, lapel roll and trouser break clearly.
- Run a short fit check before every frame: shoulders, collar gap, button pull, sleeve length, shirt cuff and trouser break.
- Every style needs at least one lapel, button, cuff and fabric-weave close-up, because buyers cannot touch the cloth.
- Combine on-model images with clean garment shots and one short video for the strongest suit listings.
- Plan wedding and winter catalogues 6–8 weeks before the season so the images are live when demand peaks.
What Makes a Suit Photoshoot for Menswear Different From a Shirt or Kurta Shoot?
A suit photoshoot for menswear has to prove structure. Buyers judge tailoring on the shoulder line, the way the jacket closes and how the trousers fall, so every image must show those three things cleanly — with no wrinkles, pulls or slouching that would make a well-cut suit look cheap.
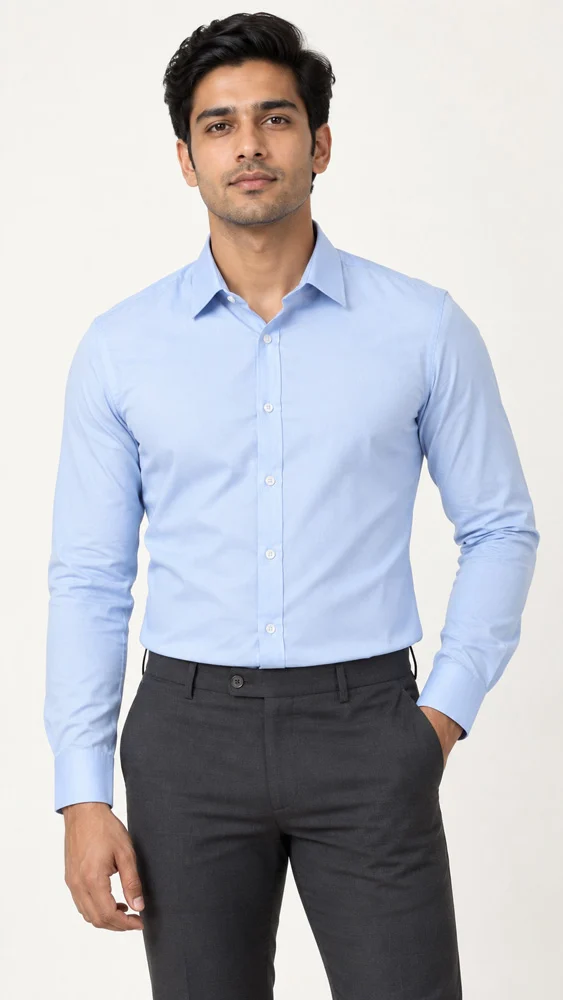
Casual menswear sells comfort and attitude, so a slight slouch or a rolled sleeve can even help. Formalwear sells precision. When a customer pays for a tailored blazer or a three-piece wedding suit, the photo is the only proof that the cut is right. In our experience, the questions buyers ask most about suits online are about fit — “will the shoulders sit right?”, “is the jacket too short?”, “how long are the trousers?” — and good images answer them before the buyer has to ask.
Suits also carry more layers than any other menswear product. A single look can include a shirt, a jacket, a waistcoat, trousers, a tie or pocket square and formal shoes. Each layer has to sit correctly at the same time, which is why a suit shoot needs a stylist on set, more time per look and a planned shot list. We have covered casual menswear separately in our menswear shot list for shirts, kurtas and denim; this guide focuses only on tailoring.
Who needs a dedicated suit photoshoot for menswear?
Any brand that sells structured garments benefits: formalwear labels, wedding-wear brands with bandhgalas and Jodhpuri suits, corporate-wear sellers, and marketplace sellers listing blazers on Amazon or Myntra. If your average order value is high, your images carry more of the buying decision, and a dedicated tailoring shoot usually pays for itself through fewer “fit not as expected” returns.
How Should You Prepare Suits, Blazers and Bandhgalas Before the Shoot?
Prepare tailoring in three stages: steam and press every piece, size-match the samples to the model, and pack a fit kit for the set. Most problems that appear in suit photos — collapsed shoulders, shiny press marks, uneven trouser hems — are fixed in preparation, not in editing.
- Steam, then press carefully. Steam jackets on a shaped hanger to relax creases, and press trousers with a pressing cloth so the crease is sharp without leaving a shine on dark wool blends.
- Check size against the model. Send your sample size chart before the shoot; a 40-chest sample on a 38-chest model will always look boxy, however good the pose.
- Remove every tacking stitch and label. Vent tacks, pocket tacks and sleeve labels must come off before the shoot, unless you sell unfinished suits and want buyers to see them.
- Pair the right shirt and shoes. A crisp white or pale-blue shirt and polished formal shoes in brown or black keep attention on the suit.
- Pack the fit kit. Clips, safety pins, fashion tape, a lint roller, a small steamer, collar stays and a measuring tape.
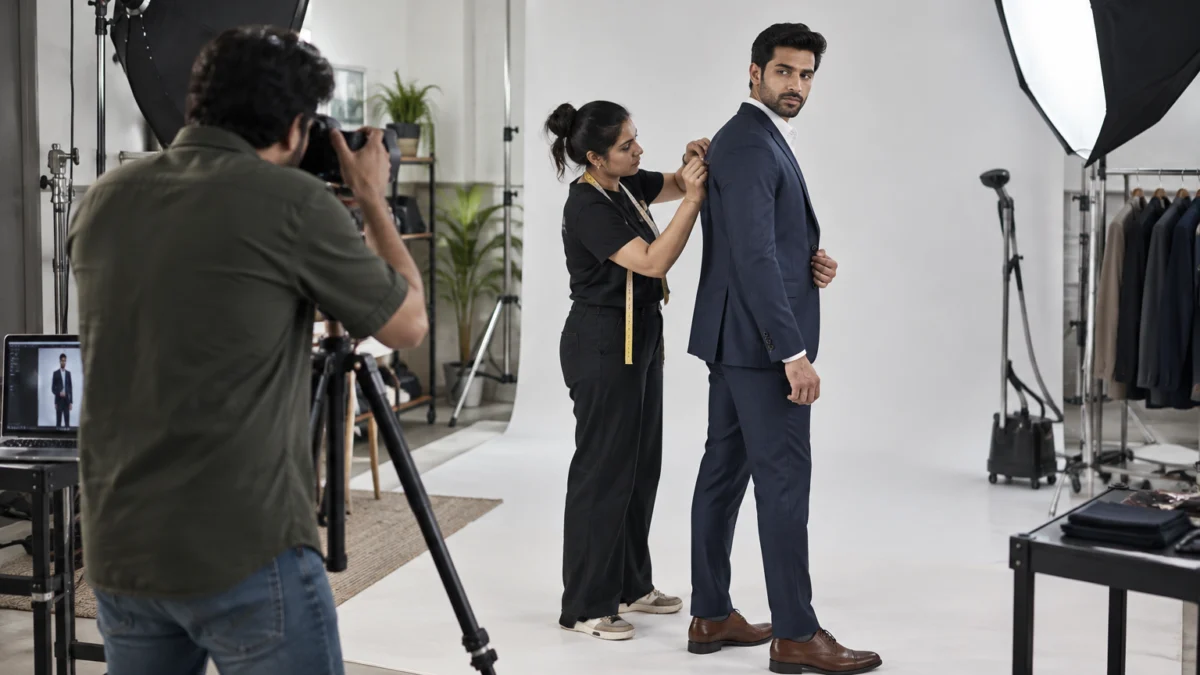
Our full process for getting garments camera-ready is in the garment preparation guide for fashion photography. For suits, the extra step is the shoulder check: put the jacket on the model, look at it from the side and the back, and pin the back only if the sample is slightly large. Pins and clips always go at the back, never where the camera can see them.
What Are the 10 Male Model Poses Every Suit Catalogue Needs?
The ten essential suit poses are the straight front, the buttoning stance, the three-quarter turn, the full side profile, the back view, the hand-in-pocket pose, the open-jacket pose, the seated pose, the walking stride and the cuff-adjust detail pose. Together they show fit, structure and movement from every angle a buyer cares about.
Each pose has a job. We plan them in this order on set because it moves from the most technical images (front, side, back) to the more expressive ones, so the model warms up while the most important frames are captured with the freshest press on the garment.
1. Straight front, jacket buttoned
This is the main image. The model stands square to the camera, weight balanced, arms relaxed with a small gap between the arm and the jacket so the waist suppression is visible. On a two-button suit only the top button is fastened; on a three-button, the middle one. Shoot from chest height with a longer lens to avoid distorting the proportions.
2. The buttoning stance
The model’s hands are at the button as if closing the jacket. It feels natural, draws the eye to the front closure and gives a lifestyle feel without leaving the white background. It is often the best hero image for marketplace listings because it looks confident and still shows the full garment.
3. Three-quarter turn
A 30–45 degree turn shows the depth of the jacket, the side pocket, the sleeve pitch and how the trouser leg tapers. It is the most flattering angle for most models and should be in every set.
4. Full side profile
The side view tells the buyer about jacket length, the back curve and the trouser break over the shoe. A clean side profile also reveals a common fit issue — a jacket that kicks out at the back vent — so fix it before shooting.
5. Back view
Buyers want to know whether the jacket has a single vent, double vents or no vent, and whether the back sits flat. Ask the model to stand naturally and keep hands at the sides so the vents hang straight.
6. Hand-in-pocket pose
One hand in the trouser pocket with the jacket open or pushed back slightly. It adds ease and shows the trouser waistband and the jacket lining in one frame — useful for lighter blazers and smart-casual layering.
7. Open-jacket pose
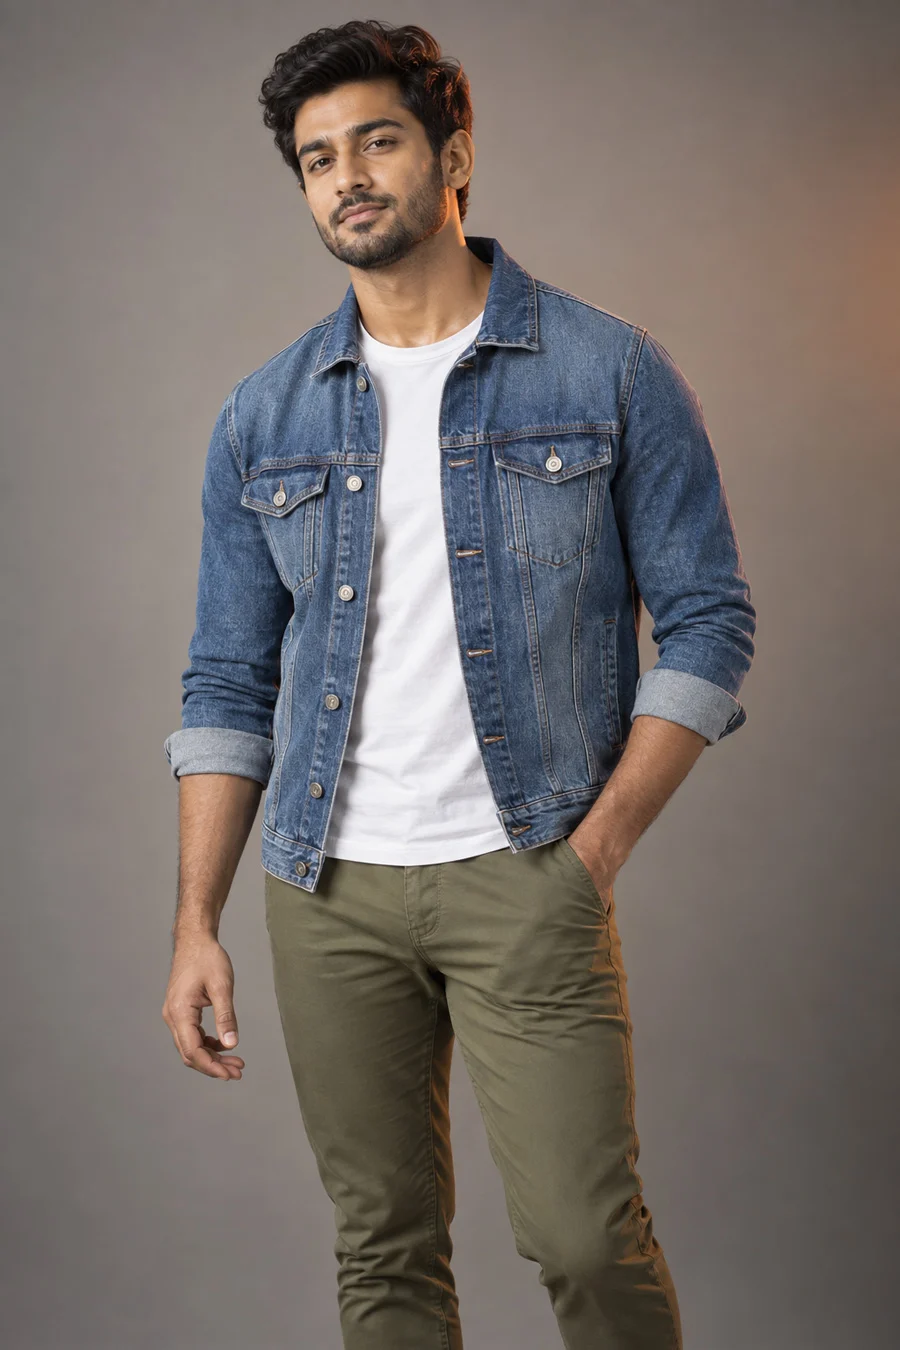
With the jacket unbuttoned, the buyer sees the lining, inner pockets, waistcoat (if any) and the shirt-and-tie pairing. For a three-piece suit this frame is essential, because the waistcoat is a big part of the value.
8. Seated pose
Wedding guests and office buyers sit in their suits for hours. A seated frame on a simple stool shows how the jacket behaves when unbuttoned, how the trousers sit at the knee and whether the fabric creases easily. Always unbutton the jacket before sitting — a buttoned seated jacket pulls into an X across the front.
9. Walking stride
A mid-step frame shows movement: the jacket hem swinging, the trouser leg falling cleanly and the overall silhouette in motion. Shoot a burst of frames and pick the one where the front leg is straight and the jacket hangs without twisting.
10. Cuff-adjust detail pose
A tighter crop of the model adjusting his shirt cuff or watch shows the sleeve length, the jacket buttons on the sleeve and about half an inch of shirt cuff — the classic sign of a well-fitted suit. It doubles as a lifestyle image for social media.
If you want to see how these poses sit inside a wider casting and campaign plan, our guide on model photography for fashion brands, from casting to campaign walks through the full workflow.
Which Fit Checks Should You Run Before Every Suit Frame?
Before every frame, check six areas: shoulders, collar gap, button pull, sleeve and cuff length, jacket length and trouser break. It takes under a minute per look and prevents the fit errors that make buyers doubt a suit and return it.
| Fit area | What to look for | Quick on-set fix |
|---|---|---|
| Shoulders | Smooth line, no dents below the shoulder pad, sleeve hanging straight | Re-steam; adjust posture; clip excess at the back |
| Collar gap | Jacket collar resting on the shirt collar, no gap at the neck | Model stands taller, chin level; adjust shirt collar |
| Button pull | No X-shaped creases around the fastened button | Swap to the next size or release one back clip |
| Sleeve & cuff | About half an inch of shirt cuff visible | Pull shirt cuff gently; fold-tape an over-long sample sleeve inside |
| Jacket length | Hem covering the seat, in line with the knuckles | Check against the size chart; note it in the listing |
| Trouser break | Clean slight or no break over the shoe, no pooling | Tape the inside hem; adjust shoe or waistband height |
At Uniqs Studio the stylist runs this check and the photographer confirms it on the tethered laptop before shooting the sequence. A good suit photoshoot for menswear catches fit problems at the camera, because retouching a collapsed shoulder or a pulled button later is slow and rarely looks natural. If a sample simply does not fit the model, we recommend switching samples rather than forcing it — buyers notice.
Fit checks for suit fit shots in ecommerce listings
For marketplace listings, add a size note to your description that matches what the photos show, for example “Model is 6 ft and wears size 40”. When the photo, the size chart and the note agree, the buyer can predict their own fit — which is the whole purpose of suit fit shots in ecommerce.
How Do You Shoot Fabric Close-Ups That Sell Premium Tailoring?
Shoot four close-ups for every suit style: the lapel and buttonhole, the jacket buttons, the sleeve cuff and the fabric weave. Use a macro or short telephoto lens, soft side light to reveal the texture, and a colour-checked file so the shade on screen matches the cloth.
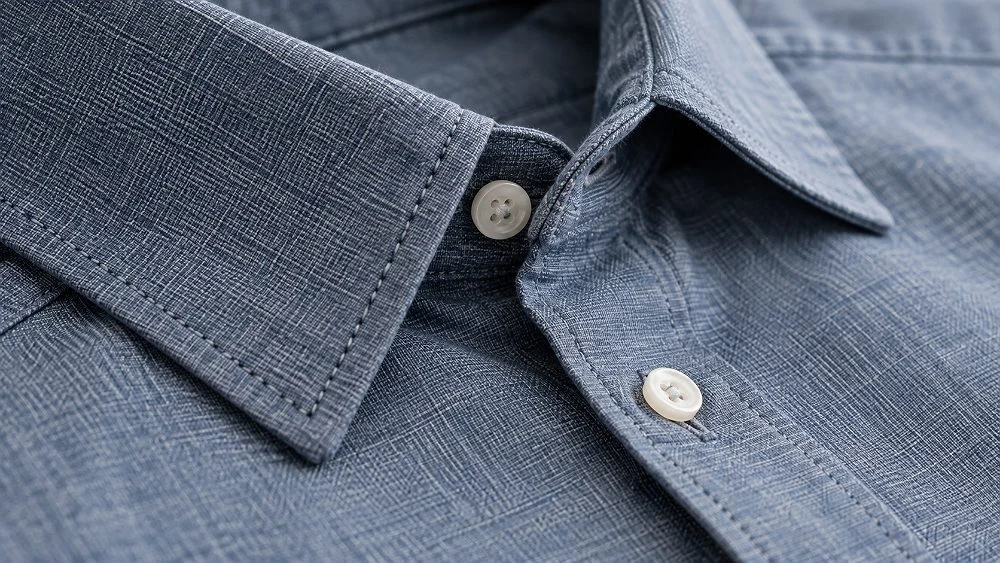
Buyers cannot touch the cloth, so the close-ups have to do the work. For a wool-blend suit, the weave, the slight sheen and any pattern (pinstripe, check, herringbone) must be crisp. For linen blazers, show the natural slub. For velvet wedding jackets, light from a low angle so the pile catches the light without turning into a flat dark patch.
- Lapel and buttonhole: shows the lapel roll, the stitching and whether the buttonhole is functional or decorative.
- Front buttons: horn, metal or self-covered buttons are a quality signal; shoot them straight-on and sharp.
- Sleeve cuff: the number of sleeve buttons and whether they are kissing or spaced.
- Fabric weave: a flat, evenly lit square of fabric at close range for texture and true colour.
- Lining and inner label area: optional, but valuable for premium and made-to-measure brands.
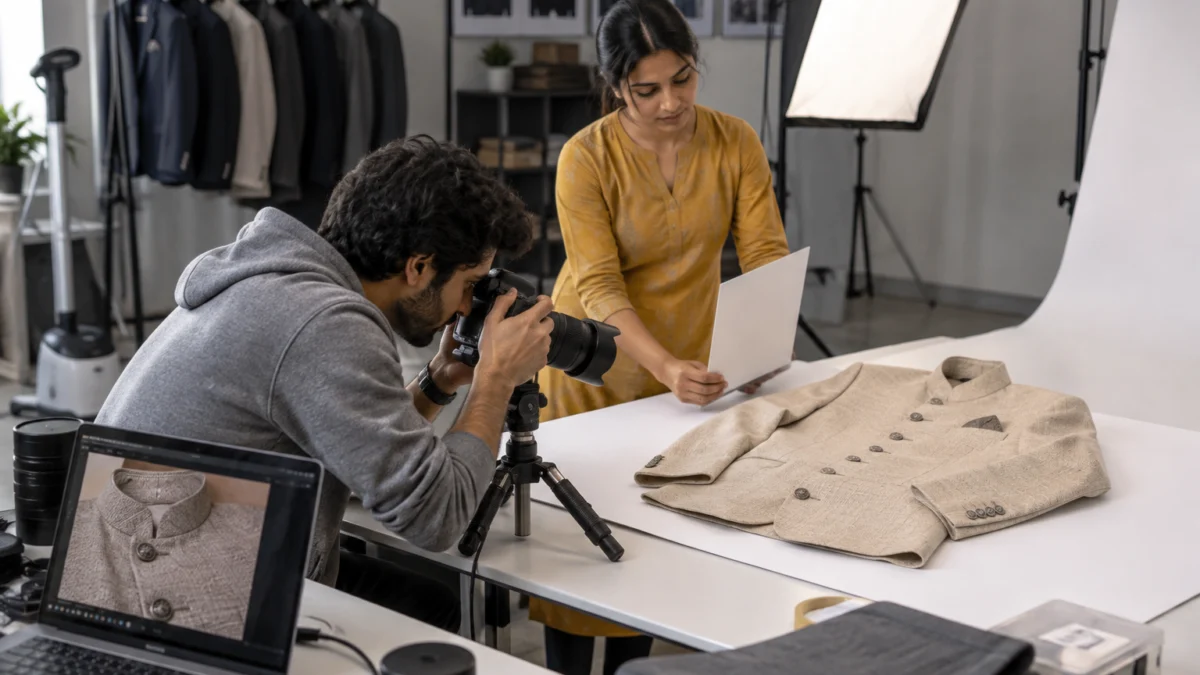
Colour accuracy matters more for suits than for most garments because navy, charcoal and black can look almost identical on a phone screen. We photograph a colour reference card at the start of each look and correct to it in post-production, so a midnight-navy suit does not turn black in the listing. For image file naming and alt text that help these close-ups appear in search, Google’s own image SEO best practices are worth following.
How Do You Shoot Bandhgalas, Tuxedos and Wedding-Season Suits?
Wedding-season tailoring needs extra detail and a richer mood. Shoot bandhgalas with a focus on the mandarin collar and button line, tuxedos with careful lighting on satin lapels, and wedding suits with styled accessories — while still keeping one clean white-background image for marketplaces.
Bandhgala photoshoot tips
The Jodhpuri or bandhgala suit is closed to the neck, so the collar and the button line are the whole story. Keep the collar perfectly upright with a collar stay or fashion tape, centre the button line in the straight front frame and add a close-up of any embroidery or embossed buttons. A slightly warmer white balance suits ivory, beige and gold bandhgalas without making them look yellow.
Tuxedo product photos
Satin or grosgrain lapels reflect light very differently from the wool body. Use a large soft source and feather it so the lapel shows a gentle sheen rather than a white hot spot. Add a bow tie close-up and a cuff-and-cufflink detail, because these are what buyers zoom in on.
Planning a menswear wedding season catalogue
For a wedding season catalogue, add one or two styled frames per look: a pocket square, a brooch, a stole or a safa placed on a simple stool, or a model shot with a soft warm-toned backdrop. Keep these as secondary images; the primary image should still be clean and catalogue-ready. Plan the shoot six to eight weeks before the season starts so listings are indexed and ads are ready when searches peak.
Should Suits Be Shot on a Model, on a Ghost Mannequin or Both?
For most suit brands the answer is both. On-model images sell the fit and the look, while garment-only shots give clean, consistent images of the jacket’s structure for colour variants, size-led listings and marketplaces that prefer a product-only first image.
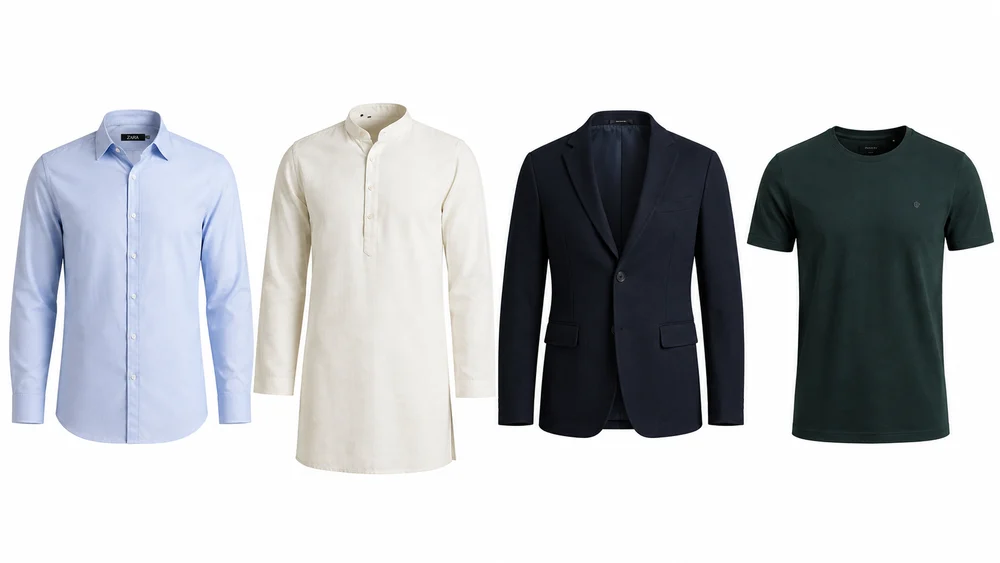
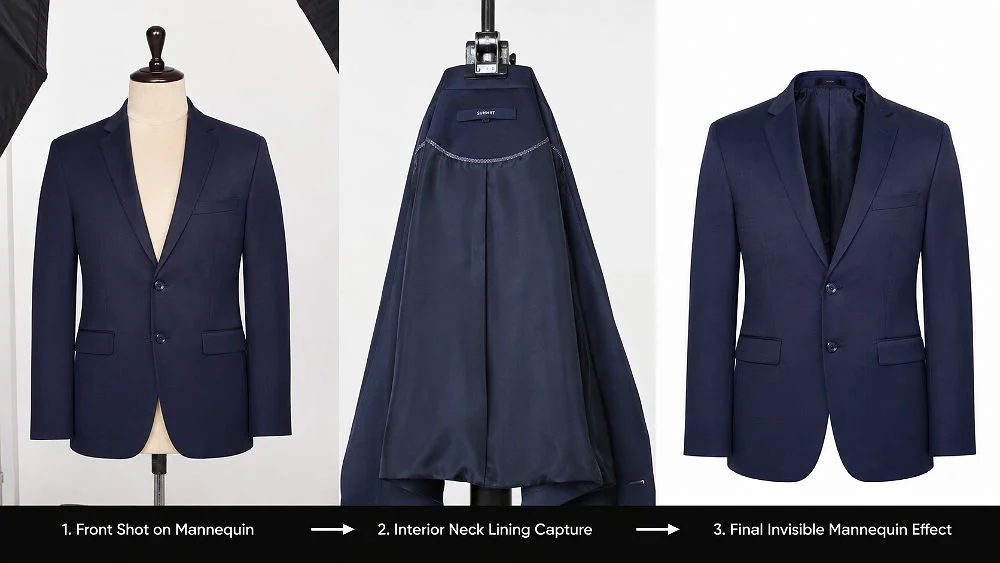
A blazer has built-in shape, so it responds very well to a mannequin. For tailored jackets, ghost mannequin shots show the lapel roll, the shoulder and the front closure without any distraction from a model’s pose, and they make it easy to shoot ten colours of the same blazer with identical framing. The editing step that removes the mannequin and adds the inner neck is what makes these look premium.
| Factor | On-model suit shots | Ghost mannequin / garment-only |
|---|---|---|
| Best for | Fit, styling, proportions, lifestyle feel | Structure, colour variants, consistency |
| Shows trouser break | Yes | No (jacket and trousers shot separately) |
| Speed per colour variant | Slower (dressing, styling, poses) | Faster (same framing for every colour) |
| Ideal use | Hero image, wedding and campaign looks | Secondary images, size-led listings, colour swatches |
| Return reduction | Strong (shows real fit) | Good (shows true shape and colour) |
Suit catalogue photography mix we recommend
For a typical suit catalogue, plan 5–6 on-model angles (front, buttoning, three-quarter, side, back, seated), one garment-only jacket image and 3–4 close-ups per style. That set covers marketplace image slots and gives your website enough variety for zoom and swatches.
What Lighting and Camera Setup Works Best for Dark Suits?
Dark suits need soft, large light sources, a slightly lifted exposure on the garment and careful highlight control on the white background. The goal is to keep the fabric texture visible in navy, charcoal and black without washing out the shirt or blowing out the backdrop.
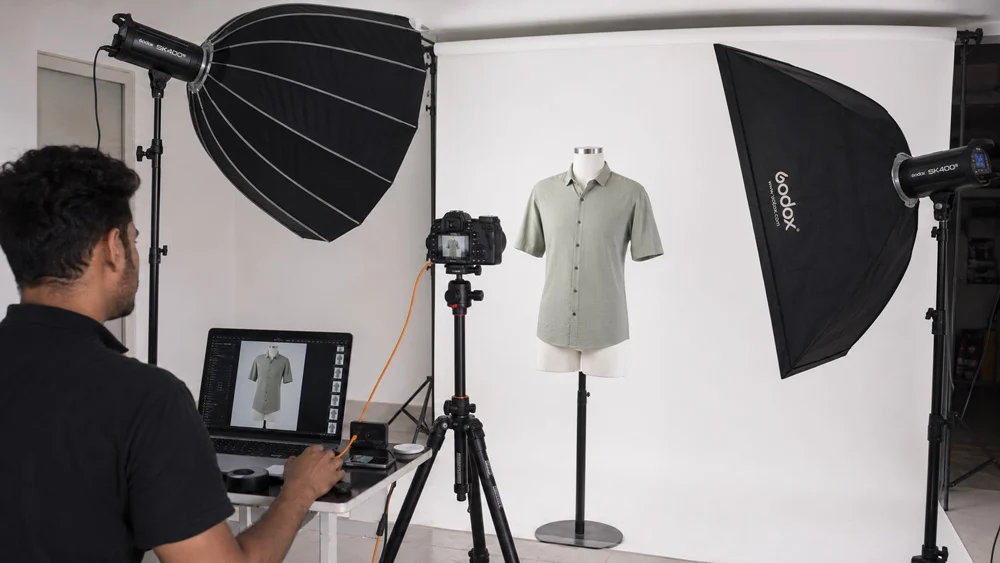
Our standard setup for a suit photoshoot for menswear uses a large octabox as the key light, two strip softboxes as rim lights to separate a dark jacket from the background, and separate background lights so the white stays clean without spilling onto the model. A full-frame camera with a 70–200mm or 85mm lens keeps the proportions natural, and a 100mm macro handles the close-ups.
- Rim lights: stop a black suit from merging into its shadow and outline the shoulder line.
- Exposure for the fabric: expose so the weave of the darkest fabric is visible, then protect the white shirt highlights in editing.
- Tethered review: zoom to 100% on the lapel and cuff for every look to catch lint, dust and loose threads.
- Consistent camera height: keep it fixed for the whole catalogue so every suit looks the same length.
How Should Video Fit Into a Suit Photoshoot for Menswear?
Add one short video per hero style. A 20–30 second clip of the model buttoning the jacket, turning and walking shows drape, movement and fabric behaviour that still images cannot, and it can be used on product pages, marketplaces and social media.
On the same shoot day, our team can capture short garment videos without a second setup: the model is already styled, the lighting is ready and the fit has been checked. Keep the camera movement simple — a slow push-in on the buttoning moment, a 360-degree turn and a few steps towards the camera are enough. For more formats, see our guide to product videos with a model.
How Much Does a Suit Photoshoot for Menswear Cost at Uniqs Studio?
At Uniqs Studio, model photography is priced per product and ghost mannequin images per image, with video priced per product or garment. The official rates and turnaround times are below; your total depends on how many styles, angles and videos you need.
| Shoot type | Images | Turnaround | Price |
|---|---|---|---|
| Model Photography | 5–6 angles | 4–5 days | ₹400 / product |
| Ghost mannequin | 1 angle | 3–4 days | ₹250 / image |
| Flat lay | 2–3 angles | 6 days | ₹290 / product |
| Ecommerce Reels Video | 20–25 seconds | 4–5 days | ₹900 / product |
| Garment Video with Model | 25–30 seconds | 4–5 days | ₹1,200 / garment |
Prices are per product/image as listed; call or WhatsApp +91-8076745824 for bulk catalogue quotes.
Planning a wedding or winter suit catalogue? Call +91-8076745824 or WhatsApp +91-8076745824 with your style count and we will share a shoot plan.
What Mistakes Ruin a Suit Photoshoot for Menswear?
The most common mistakes are wrong sample sizes, visible pins or tacking stitches, buttoned jackets in seated poses, inaccurate navy and black colours, and skipping close-ups. Each one either hides the quality of the suit or creates a fit expectation the product cannot meet.
- Forcing a sample onto the wrong model size — the jacket looks boxy or tight, and buyers assume the cut is poor.
- Leaving vent tacks or sleeve labels — they look unfinished and are hard to remove in editing.
- Buttoning the jacket while seated — creates X-shaped pulls across the front.
- Letting navy turn black — the most common colour complaint on suits; always shoot a colour reference.
- Over-retouching the fabric — smoothing every texture makes wool look like plastic and hides the quality you are selling.
- Skipping the back view — vents and back fit are real buying questions.
- Using AI-generated model images instead of real shoots — generated tailoring often invents lapels, buttons and fabric that do not match the real product, which leads to returns.
We strongly suggest real photos of the real suit, especially for tailoring. A real shoot shows the actual fabric, the actual buttons and the actual fit — and that is what buyers are paying for.
What Should Your Suit Shoot-Day Checklist Include?
Your checklist should cover samples, styling, fit, shots and files. Tick each item before and during the shoot, and you will finish with a complete, consistent suit catalogue in one day instead of booking reshoots.
- All samples steamed, pressed, de-tacked and labelled by SKU
- Sample sizes matched to the model’s measurements
- Shirts, ties, pocket squares and formal shoes paired per look
- Fit kit ready: clips, pins, tape, lint roller, collar stays, steamer
- Six-point fit check done before each look
- Ten poses planned per hero style, five to six for secondary styles
- Four close-ups per style: lapel, buttons, cuff, fabric weave
- Garment-only jacket image for every colour
- One 20–30 second video for each hero style
- Colour reference shot for each fabric
- File naming and marketplace image sizes agreed before delivery
Suit poses for male models: planning the order
Shoot the straight front, side and back first while the press is freshest, then the expressive poses, then seated and walking frames, and close-ups last. This order protects the most important images and keeps the day moving. A well-planned suit photoshoot for menswear usually finishes with time left for styled extras.
Frequently Asked Questions About Suit Photoshoots for Menswear
Quick answers to the questions menswear brands and suit sellers ask us most before booking a tailoring shoot.
Plan 5–6 on-model angles, one garment-only jacket image and 3–4 close-ups per style. Hero styles can add the full ten poses and a short video.
The straight front, buttoning stance, three-quarter turn, side profile, back view and hand-in-pocket pose cover fit and style. Add open-jacket, seated, walking and cuff-adjust frames for hero styles.
Use both. On-model images show fit and trouser break, while ghost mannequin images show the jacket’s structure consistently across colours.
Model Photography is ₹400 per product for 5–6 angles with a 4–5 day turnaround. Ghost mannequin is ₹250 per image and a Garment Video with Model is ₹1,200 per garment.
We shoot a colour reference card for every fabric, use rim lights to separate dark suits from shadows and correct to the reference in post-production.
Shoot six to eight weeks before the season so images are live, indexed and ready for ads when wedding-wear searches rise.
What Is the Next Step After Planning Your Suit Photoshoot?
Lock your style list, sample sizes and shot mix, then book a shoot date that leaves time for editing before the season. A suit photoshoot for menswear done this way gives you a catalogue that shows fit, fabric and finish in every image.
Uniqs Studio shoots suits, blazers, bandhgalas and tuxedos at our in-house studio in Kalkaji, New Delhi, for brands across Delhi, Gurgaon, Noida, Faridabad and Ghaziabad. Share your style count at [email protected] or call +91-8076745824 to plan the shoot.
Next step: before shoot day, run through our model photoshoot preparation checklist so samples, styling and the shot list are ready when the model walks on set.
Ready to Shoot Your Suit Catalogue?
Call Satyam to plan poses, fit checks and close-ups for your wedding and winter tailoring range.