
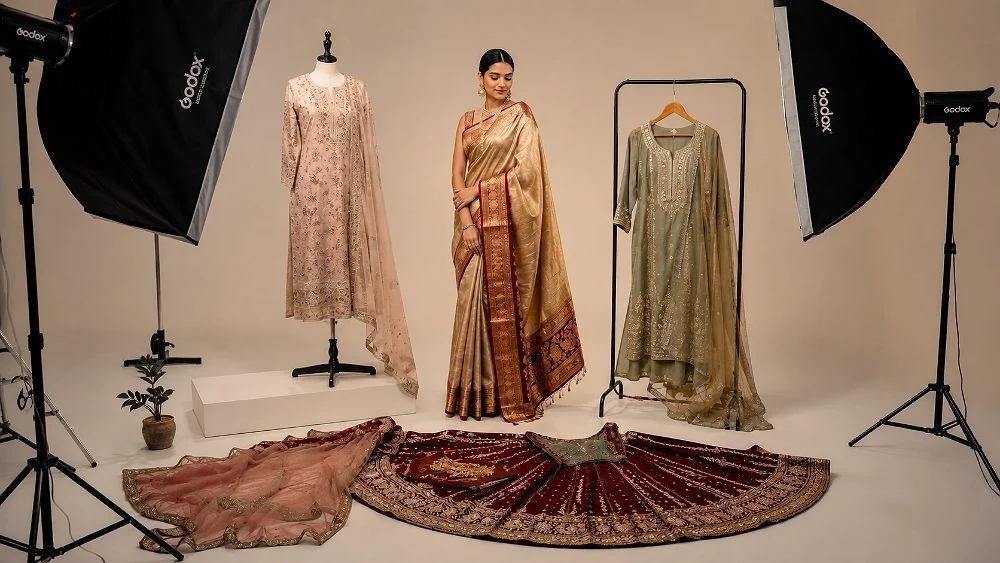
A lehenga photoshoot for ecommerce is the hardest ethnic-wear job in a catalogue studio. The skirt carries several metres of flare, the dupatta wants to cover the embroidery you paid for, and silk, velvet and net all react differently to the same light. At Uniqs Studio we plan every lehenga set the way we plan our on-model fashion photography for big ethnic labels: one fixed shot list, one lighting recipe per fabric and one stylist whose only job is the drape.
This guide is written for marketplace sellers, boutique owners and D2C bridal brands who list on Myntra, Ajio or their own website and want images that sell in the November to February wedding season. Satyam has spent more than nine years shooting garments for ecommerce, and what follows is the exact routine our team uses — the 10 angles, the pin plan for the dupatta, the can-can trick for volume and the mistakes that cause returns. If you would rather talk it through, call +91-8076745824 any day from Monday to Saturday.
- A lehenga needs three views of one garment: the full silhouette, the flare in motion and close-ups of the handwork.
- Steam, pad and add a can-can layer before the model steps on set — volume cannot be fixed in editing.
- Pin the dupatta in two planned styles so one frame always shows the full choli and skirt embroidery.
- Light velvet, silk and net separately; zari needs a raking light to show texture without hot spots.
- Add one short twirl video — buyers judge flare and weight far better in motion.
What makes a lehenga photoshoot for ecommerce different from other ethnic wear?
A lehenga is three garments sold as one — choli, skirt and dupatta — and each needs to be seen clearly in a small mobile thumbnail. Unlike a kurta or a saree, the selling point is often volume and handwork spread over a large surface. A lehenga photoshoot for ecommerce therefore needs more space, more styling time and a stricter shot order than everyday ethnic wear photography.
When we shoot a cotton kurta set, the model can move freely and most angles look fine. A heavy bridal lehenga behaves differently. It can weigh several kilograms, the hem drags on the cyclorama, the can-can flattens after a few minutes and the dupatta slides off the shoulder every time the model turns. Each of those problems shows up in the final image as a flat skirt, a messy drape or a hidden border. Buyers on Myntra and Ajio scroll fast; if the first image does not show the full flare and the choli shape, they rarely open the listing.
There is also the matter of trust. Lehengas are high-value orders, so shoppers zoom into the embroidery, check whether the colour matches the swatch and compare the dupatta border with the skirt border. Our experience across 500+ brands and marketplace sellers is simple: the listings that hold up are the ones where every photo is honest — true colour, real fall and no heavy AI smoothing. That is why we always recommend real studio photos of the actual garment, not AI-generated models wearing a guessed version of it.
How should you prepare a lehenga before the shoot?
Prepare the lehenga the day before: steam every panel, check the fit of the choli, add a can-can or extra petticoat for volume and tag each piece with its SKU. Good preparation decides about half of the final image quality. Problems such as creases in net, loose threads and a sagging waist cannot be fixed cleanly in post-production.
Our stylists follow a fixed order, and we share the same steps in our detailed guide to garment preparation for fashion photography. For lehengas, a few points matter more than usual:
- Steam from the inside. Steam net and organza panels from the lining side so sequins and zari do not dull or lift.
- Check the can-can. If the lehenga has no attached can-can, we add a separate one under the skirt. For a light georgette lehenga, two layers of petticoat usually give enough shape.
- Fit the choli. Sample cholis are often one size. We use soft clips at the back so the front fits like a tailored blouse in the image.
- Remove tags and threads. Loose threads at the hem catch light and look like damage in a zoomed image.
- Label every piece. Choli, skirt and dupatta each get a small tag with the SKU and colour code, so editing and listing stay in sync.
Send your team’s colour notes with the garments too. If the lehenga is “wine” in your catalogue and looks maroon in daylight, tell us before the shoot. We match the edited colour to the physical fabric under a daylight-balanced light, which is the most reliable way to avoid “colour looks different” returns.
Should a lehenga be shot on a model or a ghost mannequin?
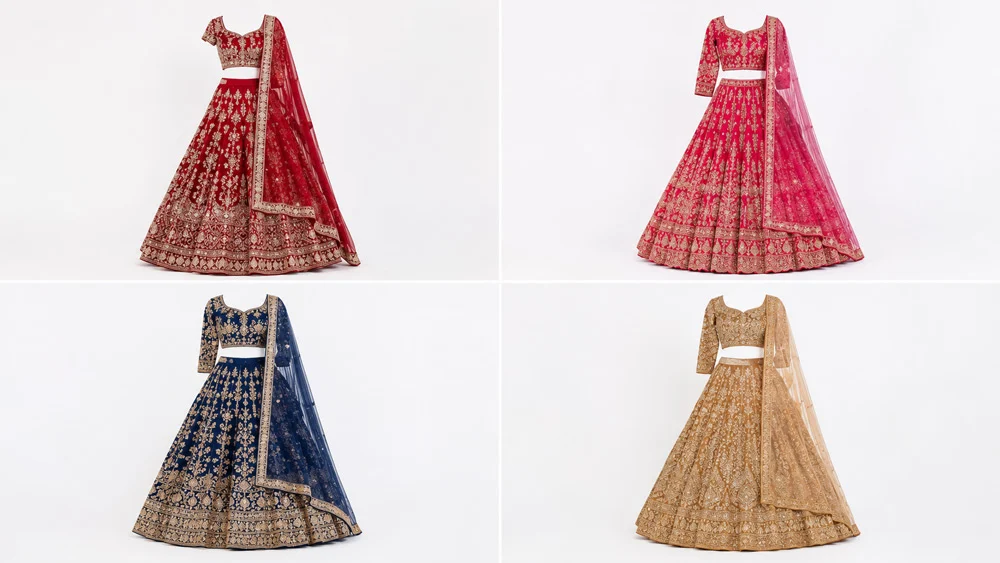
For most marketplace listings, shoot the lehenga on a model for the main images and add mannequin or flat detail shots for the handwork. A model shows fit, fall and scale in a way buyers trust. A mannequin is the better choice for large catalogues, bridal couture with very heavy work, or when you need identical framing across dozens of styles.
Many designer labels use both. They book a model day for the hero colours and send the rest of the range for ghost mannequin shoots for apparel, where an invisible form holds the choli and skirt in perfect shape. The mannequin never gets tired, the can-can never collapses, and every SKU sits at the same height and angle, which makes a category page look clean and premium.
| Factor | On-model lehenga shoot | Ghost mannequin lehenga shoot |
|---|---|---|
| Shows fit and fall | Best — real body, real movement | Good — shape is ideal, but no movement |
| Shows flare | Twirl and walking shots possible | Static flare only, very even |
| Consistency across SKUs | Depends on poses and model | Very high — same height and angle |
| Best for | Hero styles, bridal, campaign colours | Large ranges, couture detail, uniform grids |
| Styling time per look | Higher — dupatta, jewellery, hair | Lower — dupatta pinned once |
If you are building a bridal range specifically, our article on bridal wear on an invisible mannequin covers the heavier couture side in more depth.
Which 10 angles belong in every lehenga photoshoot for ecommerce?
Every lehenga photoshoot for ecommerce should cover the full front, back, side, flare, dupatta styles and close-ups of choli and border — ten frames in total. This set answers the questions buyers usually ask before ordering. It also gives you enough images for the main listing, the size and detail slots and your social posts.
Below is the exact lehenga shot list we use at Uniqs Studio. We keep the order fixed so the model and stylist know what comes next, and so no angle is missed when the day gets busy. For the wider apparel version of this list, see our ecommerce fashion shot list.
Full-length angles (frames 1–4)
- Front, dupatta open: the hero image. Dupatta pinned on one shoulder and falling behind, so the choli and full skirt are visible. Arms relaxed, slight hip turn.
- Back view: shows the choli back, tie-ups or latkans and how the skirt falls behind. Many buyers check this for blouse design.
- Three-quarter side: reveals skirt depth and the waistband. It is often the most flattering frame for marketplace thumbnails.
- Front, dupatta draped: the dupatta styled across both shoulders or as a head drape — the “wedding look” frame for bridal buyers.
Movement and styling angles (frames 5–7)
- Flare shot: a controlled half twirl that opens the skirt into a circle. This is the frame that sells volume.
- Seated or kneeling pose: skirt spread around the model on the floor; shows the full border and the kalis in one frame.
- Styled lifestyle frame: soft smile, jewellery and hair finished, used for banners and social posts.
Detail angles for lehenga product photos (frames 8–10)
- Choli close-up: neckline, sleeve work and embroidery at chest level.
- Skirt border macro: zardozi, gota, sequins or mirror work at the hem, lit to show texture.
- Dupatta border and fabric: the border pattern plus a corner showing the net or georgette weave.
On Amazon, keep the main image on a pure white background as the Amazon product image requirements describe, and use the remaining slots for the side, back and detail frames. On Myntra and Ajio the same set works, as long as the framing, ratio and background follow the portal’s own catalogue guidelines for your account.
How do you show lehenga flare and volume without blur?
Use a fast flash duration, a mid-range aperture and a half twirl rather than a full spin. The model turns, stops sharply and the skirt keeps moving outward — that is the moment to shoot. Volume itself comes from the can-can and styling, not from the camera.
On our studio floor, flare shots in a lehenga photoshoot for ecommerce are made with strobes, not continuous light. Our Godox SK400II and Elinchrom FRX 400 heads freeze the fabric at the peak of the swing, and we keep the aperture around f/8 so both the face and the far edge of the skirt stay sharp. Shutter speed matters less with flash, but we keep it at the sync limit to cut out ambient blur. The camera stays on a tripod at waist height, framed wide enough that the skirt never touches the edge of the frame.
- Coach the turn: step, quarter turn, stop. A full spin makes the dupatta wrap and hides the choli.
- Clear the floor: a stylist lifts the hem off the cyclorama just before each take so the skirt opens evenly.
- Shoot in bursts: we take 6–8 frames per turn and pick the one where the circle is fullest and the face is calm.
- Protect the hem: for heavy bridal pieces we limit twirls to a few takes so the can-can and border do not get damaged.
If a lehenga is too heavy to swing, we create the flare with styling: two assistants open the skirt from both sides, hold it for a second and step out of frame. It looks natural, and it is far safer for couture with heavy stonework.
How do you drape the dupatta so it does not hide the embroidery?
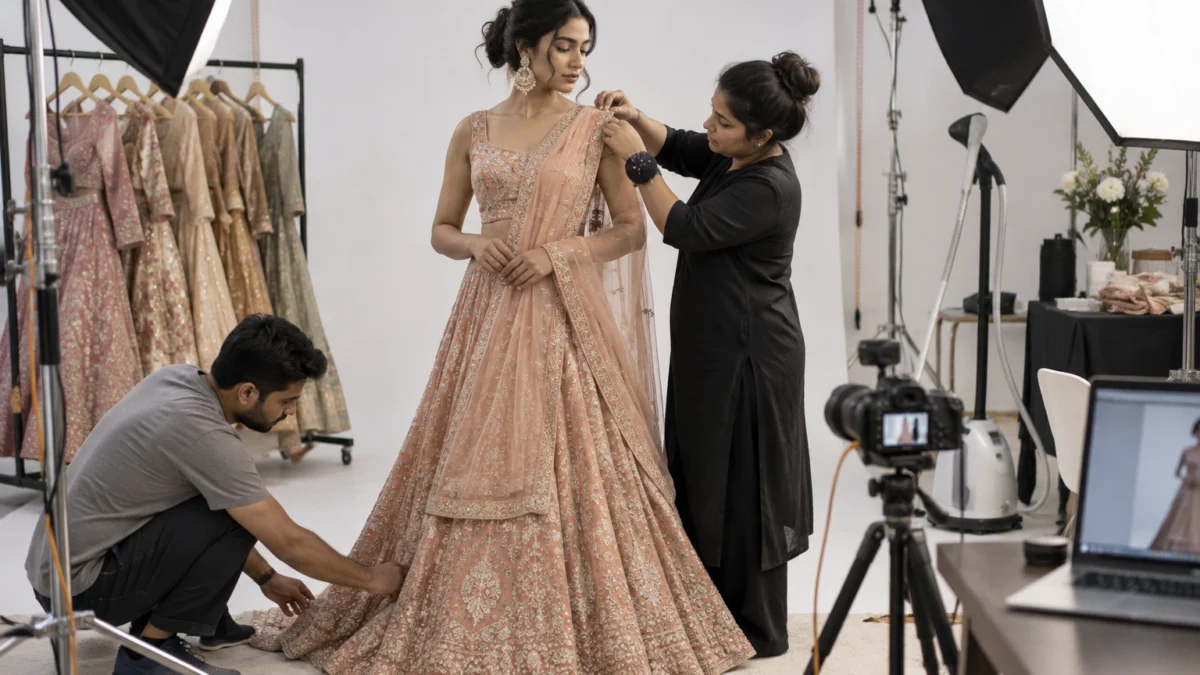
Plan two dupatta styles before the shoot: an open style pinned on one shoulder for the hero and detail frames, and a draped style for the wedding look. Hidden safety pins and a little double-sided fabric tape keep each drape fixed. This simple plan for dupatta draping for photoshoot ensures every key frame shows the choli and skirt clearly.
The most common complaint we hear from sellers is “the dupatta covered everything”. It happens when the dupatta is draped once at the start and left to move freely. Our stylist re-pins between every angle and checks the camera screen before each frame. For transparent net dupattas, we pin the border so it sits on the shoulder line, because a border that falls on the choli confuses the eye in a thumbnail.
- Open style (hero): pin at the left shoulder, let the dupatta fall straight down the back. Choli and skirt fully visible.
- Elbow drape: pinned at the shoulder, resting on the opposite elbow — shows the border without covering the front.
- Bridal head drape: pinned at the hairline and shoulder for the bridal frame only.
- Cape style: both ends over the shoulders behind the back, used for indo-western lehengas.
How do you light silk, velvet, net and zari correctly?
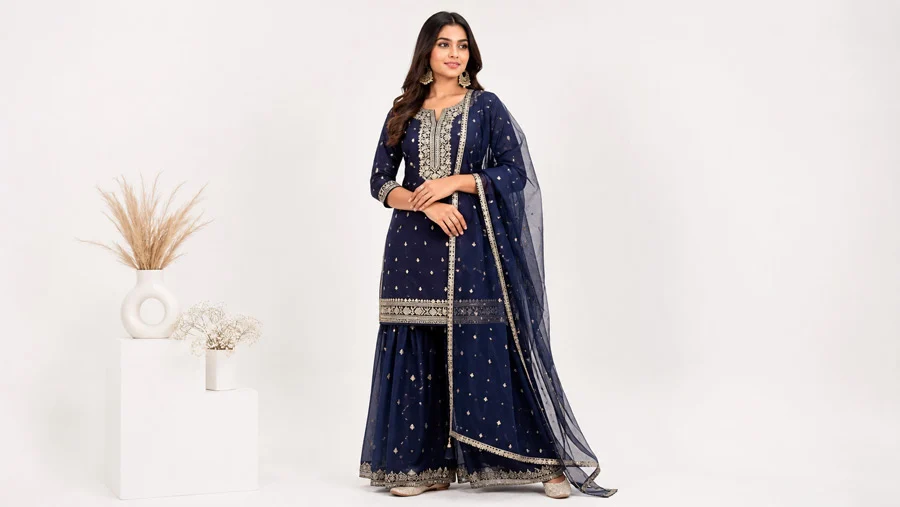
Use large soft light for the full-length frames and a harder, side-angled light for the detail frames. Velvet absorbs light and needs more exposure, silk reflects and needs diffusion, net needs a clean background behind it, and zari needs a raking light to show texture. Treating every fabric the same is the main reason lehenga images look flat or shiny.
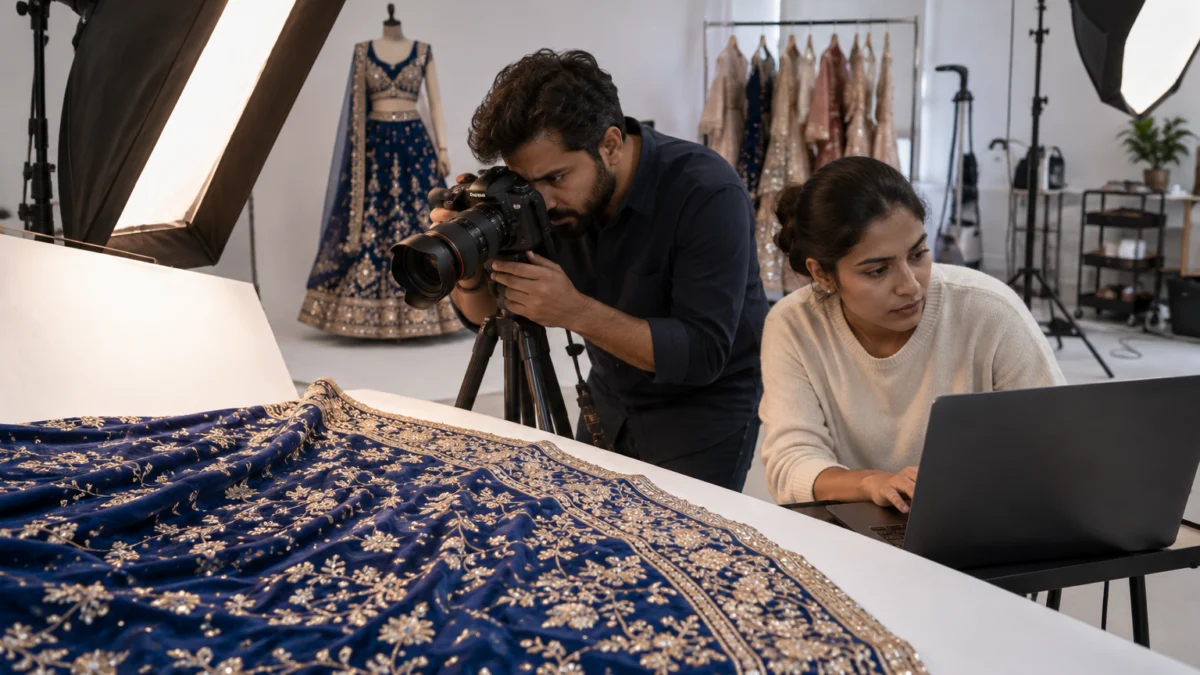
Our standard full-length setup for a lehenga photoshoot for ecommerce is two strip softboxes at 45 degrees on either side of the model and a large octabox in front, slightly above eye level. This wraps the skirt evenly and keeps shadows soft under the choli. For detail shots we switch to a single strip light from a low side angle, which makes embroidery stand up from the fabric, and a white bounce card for fill. A beauty dish is used only for the styled lifestyle frame.
| Fabric | Common problem | What we do |
|---|---|---|
| Velvet | Looks black, loses colour | Brighter key, softbox close to the skirt, check colour against the fabric |
| Raw silk / brocade | Hot spots and shine | Large diffused source, slight angle, polariser where needed |
| Net / organza | Looks transparent or grey | Clean white background lit separately, lining smoothed |
| Zari, sequins, mirror | Flat or blown highlights | Raking side light for macros, lower power, bracketed exposures |
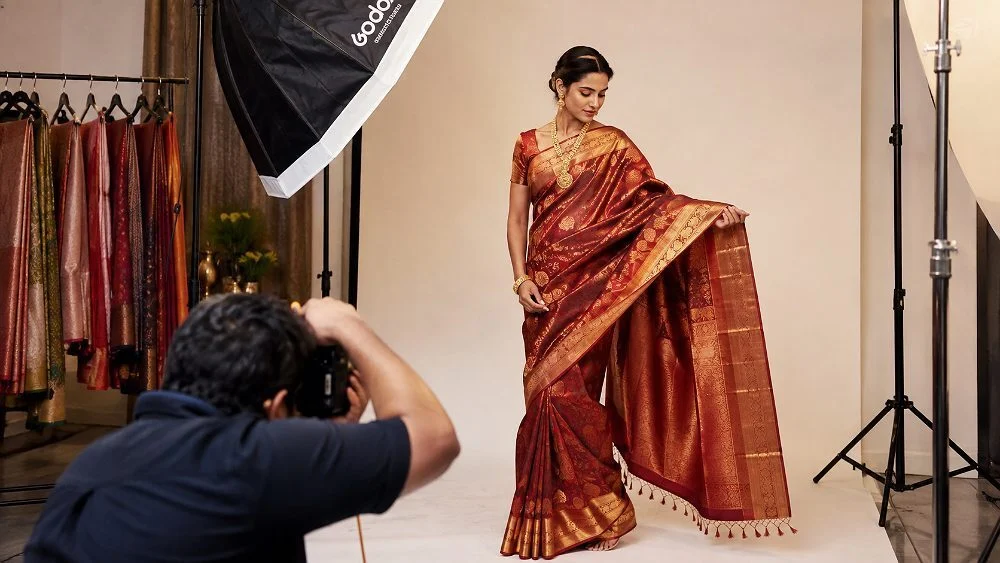
Colour accuracy finishes the job. We shoot with a grey card at the start of each lehenga, edit on a calibrated monitor and compare the screen with the physical fabric under daylight light before export. Google also recommends high-quality, relevant images and descriptive file names and alt text in its image SEO best practices, which helps your own website’s lehenga pages appear in image search.
How do you add video to a lehenga listing?
Shoot a 20–30 second vertical video on the same day as the photos: a slow walk towards the camera, a half twirl, a back turn and a close pan over the border. Video shows weight and flare in a way no still image can. It also works for Instagram reels and marketplace video slots without a second shoot.
Because the lehenga is already steamed, pinned and lit, adding video takes little extra time. We keep the lights the same, switch to a gimbal, and shoot each move twice. Here is an example of the kind of ethnic set model video we produce for marketplace listings:
- 0–5 seconds: full-length front, slow step forward.
- 5–12 seconds: half twirl to show the flare.
- 12–20 seconds: back turn to show choli back and latkans.
- 20–30 seconds: close pan across the border and dupatta.
What does a lehenga catalogue shoot cost?
At Uniqs Studio, pricing for a lehenga photoshoot for ecommerce follows our standard per-product rates: model photography is ₹400 per product for 5–6 angles, and ghost mannequin images are ₹250 per image. Reels and garment videos are priced separately. The table below shows the rows that apply to a typical lehenga catalogue shoot.
| Shoot type | Images | Turnaround | Price |
|---|---|---|---|
| Model Photography | 5–6 angles | 4–5 days | ₹400 / product |
| Ghost mannequin | 1 angle | 3–4 days | ₹250 / image |
| Flat lay | 2–3 angles | 6 days | ₹290 / product |
| Jewellery (ring, earring) | 2–3 angles | 4–5 days | ₹300 / product |
| Ecommerce Reels Video | 20–25 seconds | 4–5 days | ₹900 / product |
| Garment Video with Model | 25–30 seconds | 4–5 days | ₹1,200 / garment |
Prices are per product/image as listed; call or WhatsApp +91-8076745824 for bulk catalogue quotes.
For a ten-frame set as described above, most sellers combine model photography for the main views with a few extra detail frames. Share your SKU count and the mix of model and mannequin styles by email at [email protected], and we will confirm the plan before the shoot day.
What are the most common lehenga photoshoot mistakes?
The biggest mistakes are a collapsed skirt, a dupatta covering the choli, wrong colour on velvet or silk, and missing close-ups of the handwork. Each one makes a premium lehenga look cheaper than it is. Each one also raises the chance of a return because the buyer received something that did not match the photos.
- No can-can: the skirt looks like a straight maxi in the thumbnail.
- Dupatta never re-pinned: it slides and hides the choli in half the frames.
- Over-edited colour: a saturated “pop” makes wine look red and leads to colour complaints.
- Cropping the hem: buyers want to see the full border; leave space below the feet.
- Heavy jewellery on a simple lehenga: it pulls attention away from the product you are selling.
- Using AI models instead of the real garment: AI “try-on” images guess the fall and embroidery. For high-value ethnic wear, buyers notice the difference when the parcel arrives.
- Mixed backgrounds across a range: one style on grey, the next on white — the catalogue looks unplanned.
Is a studio or an outdoor location better for a lehenga shoot?
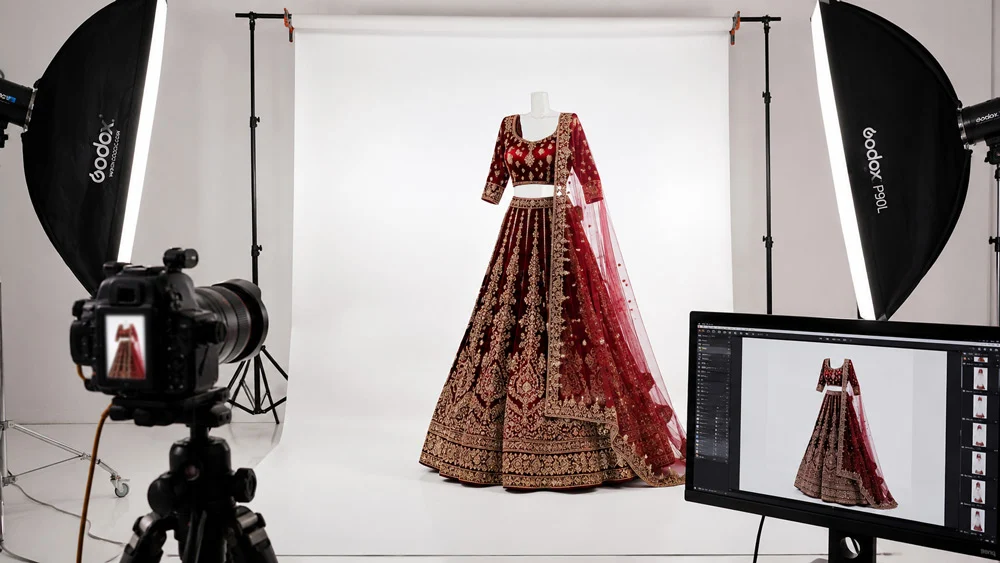
For marketplace listings, a studio is better: you get a clean background, controlled colour and repeatable framing for every SKU. Outdoor locations are best for campaign or social images once the catalogue set is done. Many brands do both — studio for listings, one location day for the hero colours.
Outdoor light changes every few minutes, and wind moves the dupatta more than any stylist can control. That is fine for a mood image but risky for a product page where colour must match the parcel. If you want the editorial look, we suggest choosing three or four hero styles for a location shoot and keeping the rest of the lehenga catalogue shoot in the studio.
What should be on your lehenga shoot checklist?
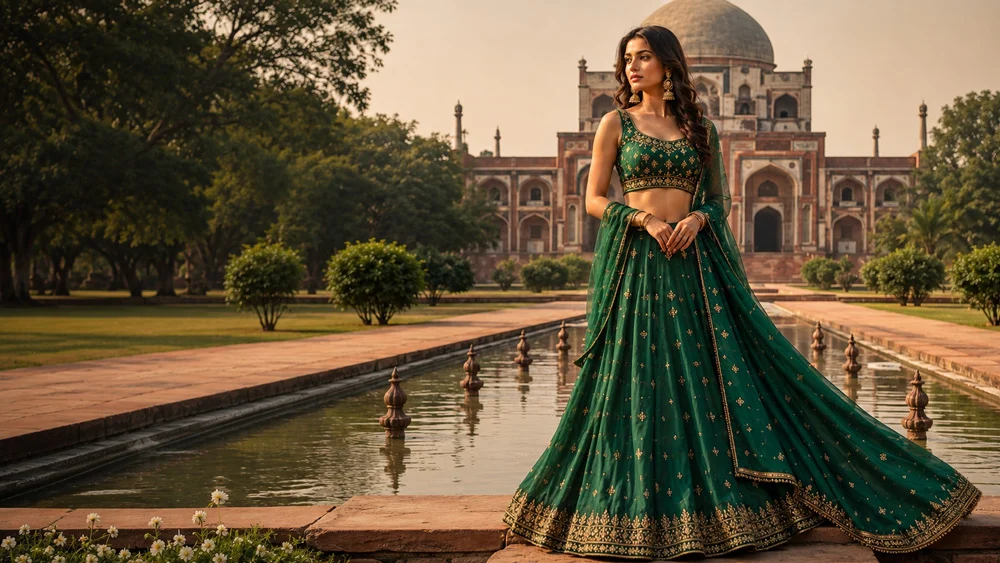
Before booking, confirm the SKU list, the shot list, the dupatta styles, the jewellery plan and the colour references. Sending these in one sheet saves time on the shoot day. It also keeps your lehenga photoshoot for ecommerce consistent from the first style to the last.
- SKU sheet with colour names exactly as they appear in your catalogue
- Can-can or petticoat for each skirt (or ask us to arrange one)
- Choli size and any back closure details
- Preferred dupatta styles: open, elbow, head drape or cape
- Jewellery and footwear choices that match the price level of the lehenga
- Portal requirements: ratio, background and image count for each marketplace you sell on
- Whether you need a twirl video or reel for each style
- Delivery format: file names by SKU, separate folders per marketplace
Uniqs Studio shoots at its in-house studio in Kalkaji, New Delhi, and works with brands across Gurgaon, Noida, Faridabad and Ghaziabad. Garments can be dropped off or couriered, and our team will confirm the shot list with you before a single frame is taken.
Frequently asked questions about lehenga photoshoots
These are the questions sellers ask us most often while planning a lehenga shoot. Short answers are below; call or WhatsApp us for anything specific to your range.
Plan for around ten frames: front, back, side, flare, two dupatta styles, a seated pose and three close-ups of the choli, border and dupatta. Use the strongest five to seven on the marketplace and the rest on your website and social pages.
A model is better for hero styles because it shows fit, fall and flare. A ghost mannequin is better for large ranges and very heavy couture because every SKU is framed identically. Many brands combine both.
Use an attached or separate can-can, steam the panels from inside and have a stylist lift the hem off the floor before each frame. Volume comes from styling; editing cannot add real flare.
Model photography is ₹400 per product for 5–6 angles with a 4–5 day turnaround. Ghost mannequin images are ₹250 per image, and a garment video with model is ₹1,200 per garment.
AI try-on images guess how the fabric falls and often blur or change the embroidery. For high-value ethnic wear, real photos of the actual garment build more trust and lead to fewer “looks different” returns.
Yes. We shoot 20–30 second vertical clips on the same day as the photos — walk, half twirl, back turn and border pan — so one set-up gives you listing images and reels.
What is the next step for your lehenga range?
Before your next lehenga photoshoot for ecommerce, shortlist your hero styles, prepare the SKU sheet from the checklist above, and book one shoot day that covers photos and video together. That gives you a complete, consistent catalogue before the wedding-season traffic peaks.
Once your stills are planned, the natural next step is motion: our short garment videos are shot on the same set, so each lehenga gets a twirl clip for reels and listing video slots without a second booking. Talk to Satyam directly on +91-8076745824, message us on WhatsApp at +91-8076745824, or send your list to [email protected].