
If you want to sell clothes on Amazon India, the hard part is not opening an account — it is setting up a clothing catalogue that Amazon accepts, shoppers trust and customers do not send back. This guide is part of our Amazon seller resource hub, and it walks you through the exact order we recommend to new apparel sellers: documents, category, variations, size charts, Brand Registry and images.
At Uniqs Studio, Satyam and the team have spent 9+ years shooting catalogues for more than 500 D2C brands and marketplace sellers from our Delhi studio. The same pattern shows up again and again: sellers who sort out size charts and images before launch spend far less time fixing rejected listings and size-related returns later. Below you will find nine steps, India-specific details (not US advice about USPTO and dollars), and checklists you can follow this week.
- To sell clothes on Amazon India you need a GSTIN, PAN, an Indian bank account and a Seller Central account on Amazon.in.
- List every style as a parent with size and colour children, so reviews and rankings stay together.
- A brand-specific size chart in cm and inches is the single cheapest way to reduce wrong-size returns.
- Amazon Brand Registry in India works with a trademark filed at IP India, usually in Class 25 for clothing.
- Main images need a pure white background, the garment filling most of the frame and no text, logos or visible mannequins.
Can You Sell Clothes on Amazon India Without Your Own Brand?
Yes. You can sell clothes on Amazon India as a reseller of other brands, as a manufacturer with your own label, or as a private-label brand. The route you choose decides what paperwork Amazon may ask for and whether you can use brand tools like A+ Content.
There are three common ways Indian apparel businesses start. Resellers buy finished stock from a brand or distributor and list it on existing product pages; Amazon may ask for purchase invoices or a brand authorisation letter, especially for well-known labels. Manufacturers — the Tirupur, Surat, Jaipur and Ludhiana units we often work with — create new listings under their own label and control the content. Private-label D2C brands design in-house, outsource production and build their brand on the marketplace.
If you plan to sell your own label, treat the brand as an asset from day one. File the trademark early, print the brand name on labels and packaging, and keep design files and invoices organised. Those small habits make category approvals, Brand Registry and any listing dispute far easier later. Resellers, on the other hand, should focus on sourcing paperwork and on not uploading duplicate product pages for items that already exist.
| Seller type | Listing approach | Paperwork Amazon may ask for | Brand tools |
|---|---|---|---|
| Reseller | Joins existing product pages | Purchase invoices, brand authorisation | No |
| Manufacturer (own label) | Creates new parent-child listings | Brand proof, product and packaging photos | Yes, after Brand Registry |
| Private-label D2C brand | Creates and controls listings | Trademark application, brand proof | Yes, after Brand Registry |
What Documents Do You Need to Sell Clothes on Amazon India?
You need a GSTIN, a PAN, an active Indian bank account, a phone number and email, and a business address that matches your GST records. Keep scanned copies ready before you open Seller Central so the verification step does not stall.
Registration happens on Amazon’s official seller portal for India. Apparel is a taxable category, so a GSTIN is a practical must for clothing sellers. Make sure the legal name, address and state on your GST certificate match what you type into Seller Central — mismatches are one of the most common reasons verification gets delayed.
- GSTIN for the business that will invoice customers.
- PAN of the proprietor, partnership or company.
- Bank account in the business name, with a cancelled cheque or statement.
- Pickup address where stock is packed, if you plan to self-ship or use Easy Ship.
- HSN codes for your garments (cotton, synthetic and knitted items often use different codes) — confirm them with your CA.
- Packaging details: MRP, manufacturer or packer name and address, country of origin, net quantity and consumer-care contact, as required for packaged goods in India.
Before you list anything, work out your margins. Referral fees, closing fees, shipping and return costs all change your real profit on a ₹499 tee versus a ₹2,499 kurta set. Our guide to Amazon seller fees and FBA charges breaks these down so you can price with confidence.
How Do You Set Up the Clothing Category Correctly?
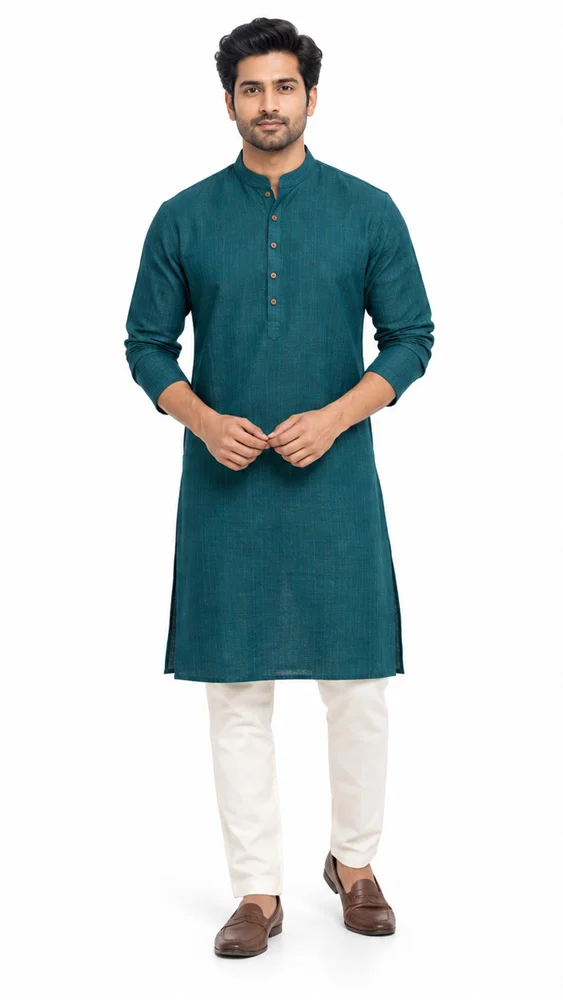
Choose the most specific product type and browse path under Clothing & Accessories, for example women’s kurtas or men’s casual shirts. If Seller Central shows an approval prompt for your brand or sub-category, submit the documents it asks for before creating listings.
Many sellers rush this step and pick a broad product type. That hurts twice: the listing appears in the wrong filters, and the required attributes (sleeve length, neck style, fabric, fit) do not match the garment. On Amazon.in, the right product type unlocks the right size system and filter values, which is exactly what shoppers use to narrow down results. Spend ten minutes searching for similar best-selling items and note which category path they sit in.
Category approval rules change from time to time, so always check the current requirements inside Seller Central rather than relying on forum posts. Typical requests include invoices from the brand or manufacturer, brand proof (labels, tags, packaging photographs), and sometimes images of the actual product. For amazon apparel category approval in India, clean product photographs and consistent brand labels help reviewers see that you are a genuine business.
- Search Amazon.in for three to five garments similar to yours and note their category path.
- In Seller Central, use Add a Product and search the same product type.
- If you see an “Apply to sell” or approval message, gather the requested documents.
- Fill every recommended attribute: material, fit type, sleeve type, neck style, pattern, occasion and care instructions.
- Save a template so the next 50 styles use the same structure.
How Do You Create Parent-Child Size and Colour Variations?
Create one parent listing per style and add each size and colour combination as a child with its own SKU, price and stock. This keeps reviews, ratings and sales history on a single page, which helps the whole style rank.
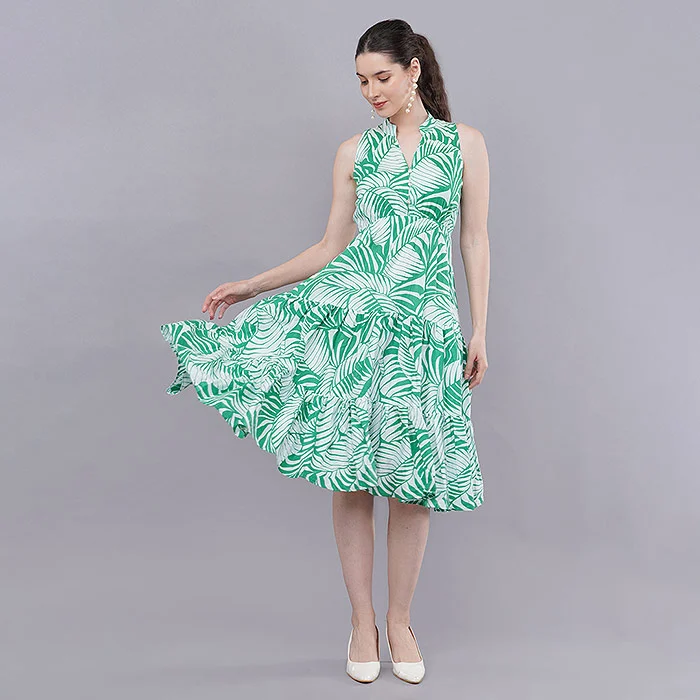
The parent is a non-buyable “container”; the children are what customers actually buy. A kurta in three colours and six sizes becomes one parent with 18 children. The usual variation theme for clothing is size-colour. Name sizes consistently (S, M, L, XL, XXL or numeric waist sizes for bottoms) and map them to Amazon’s standard size values, so your product appears when a shopper filters by “M” or “32”.
- SKU format: use a readable pattern like BRAND-STYLE-COLOUR-SIZE (for example UQ-KT104-TEAL-M) so your warehouse and Seller Central always agree.
- Colour names: pick a standard colour family plus a descriptive name (“Green” family, “Teal” name).
- Images per colour: every colour child needs its own photos; never reuse the teal photo for the maroon variant.
- Price logic: keep sizes at one price unless plus sizes genuinely cost more to make.
How Do You Build an Amazon Fashion Size Chart That Cuts Returns?
Measure real finished garments for every size, record body-fit and garment measurements in both centimetres and inches, and show the chart on the listing. Clear sizing is the most direct way to reduce “doesn’t fit” returns in apparel.
In our studio, size problems are the complaint we hear most from new clothing sellers. A generic chart copied from the internet rarely matches your pattern. Satyam’s advice is simple: take one finished piece of every size from production, lay it flat and measure chest, waist, hip, length, shoulder and sleeve. Then add a fit note — “regular fit, choose your usual size” or “relaxed fit, size down for a closer look” — because shoppers trust a plain sentence more than a table of numbers.
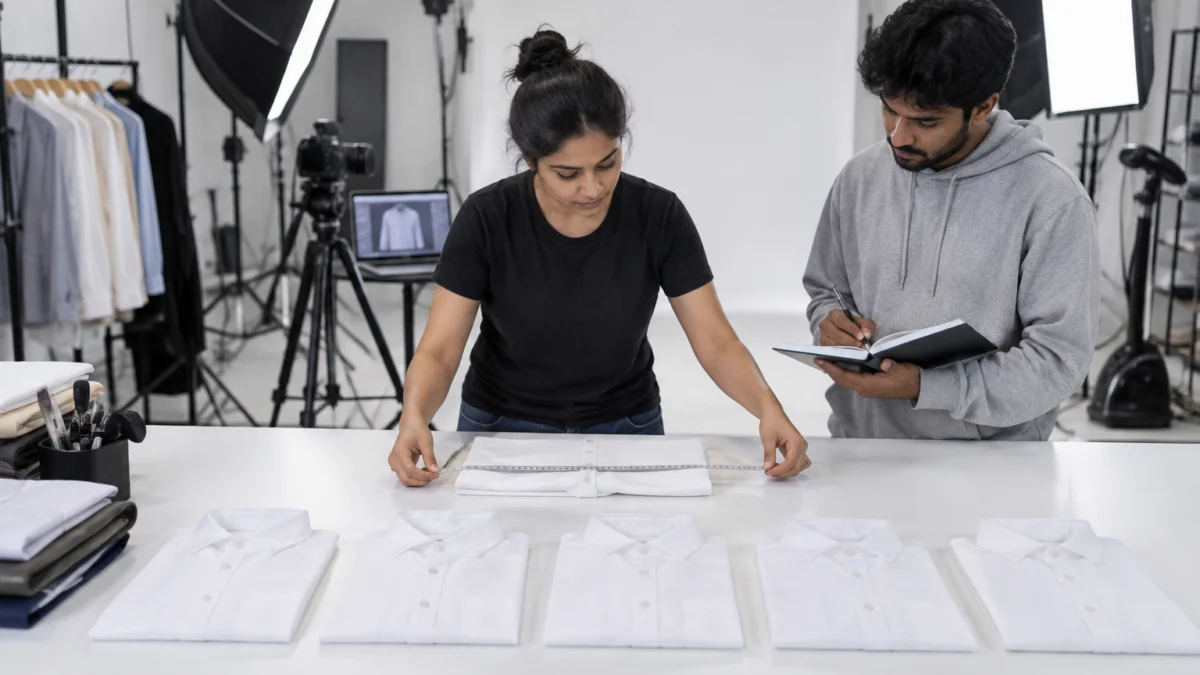
| Size | Chest (in / cm) | Length (in / cm) | Fit note |
|---|---|---|---|
| S | 38 / 96.5 | 27 / 68.5 | Example layout only — replace with your own garment measurements |
| M | 40 / 101.5 | 28 / 71 | |
| L | 42 / 106.5 | 29 / 73.5 | |
| XL | 44 / 112 | 30 / 76 |
Brand owners can usually attach a brand-specific size chart through Seller Central once their brand is set up, and listings without one fall back to generic guidance. Whatever tool Amazon offers in your account, back the chart up with images: one photo with the model’s height and size worn (“Model is 5’8″ and wears M”) and one close-up of the fabric help shoppers choose correctly. An accurate amazon fashion size chart paired with honest images protects both your ratings and your margins.
Do You Need Amazon Brand Registry to Sell Clothes on Amazon India?
No, Brand Registry is not required to start selling, but it is strongly recommended for your own label. In India it is based on a trademark filed with IP India, and it unlocks A+ Content, a Brand Store and stronger listing protection.
For clothing, the relevant trademark class is usually Class 25 (clothing, footwear, headgear). According to Amazon India’s own trademark guide, a registered trademark — and in many cases a pending application with an application number — may make you eligible to apply, with acceptance at Amazon’s discretion. The same guide lists the official filing fee as ₹4,500 for individuals, startups and MSMEs and ₹9,000 for others per class, with registration taking roughly 6–18 months on average.
You can search and file through the Intellectual Property India portal, ideally with a trademark attorney’s help. Once enrolled, amazon brand registry india trademark holders can add A+ Content modules, brand videos and a Brand Store — useful for apparel, where buyers want to see fabric, fit and styling before they commit.
- Search IP India for similar marks before you print labels.
- File in Class 25 under the exact brand name that appears on your tags.
- Photograph the brand name on garments and packaging — Amazon may ask for these.
- Apply for Brand Registry as soon as you hold the application number, if eligible.
What Does the Amazon Clothing Image Checklist Require?
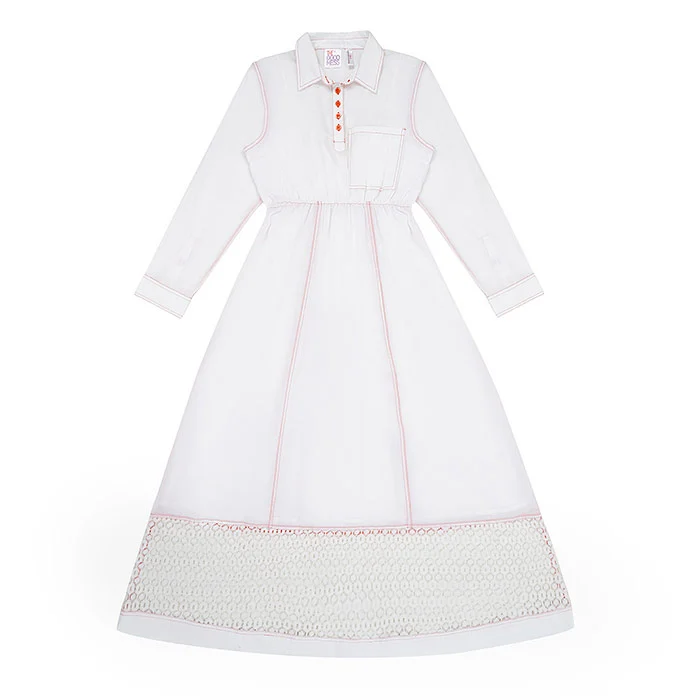
Your main image must show the garment on a pure white background (RGB 255, 255, 255), filling most of the frame, with no text, logos, watermarks or inset pictures. Adult clothing can be shown on a model or flat; kids’ and baby clothing should be shown off-model.
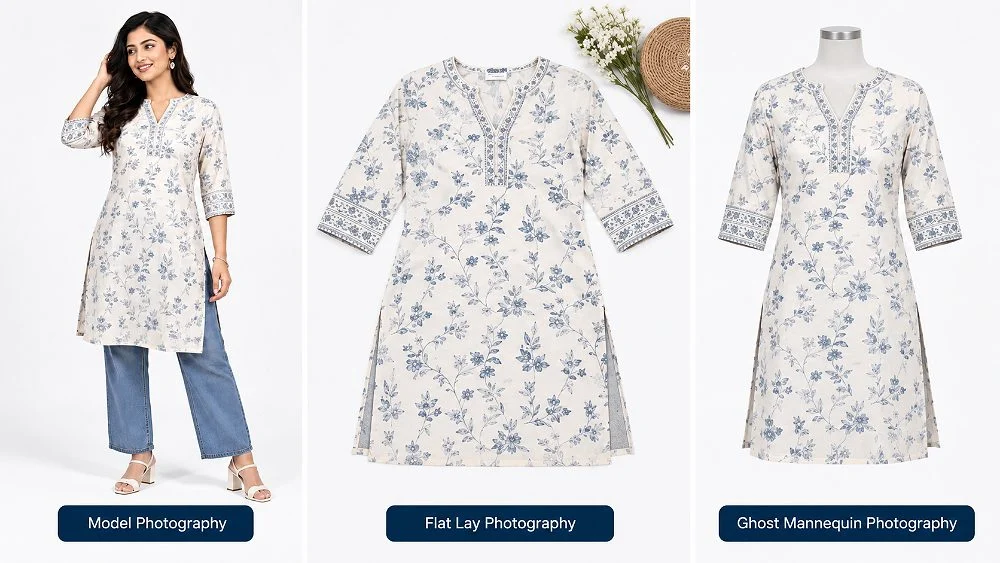
Images are where most amazon clothing listing requirements trip up new sellers. Amazon’s guidance has long asked for at least 1,000 pixels on the longest side so zoom works; we deliver 2,000 pixels or more so the fabric holds up on large phones. Visible mannequins, hangers and props are not allowed on the main image. That is why many apparel sellers use clean ghost mannequin shots: the garment keeps its 3D shape, but the mannequin is removed in editing.
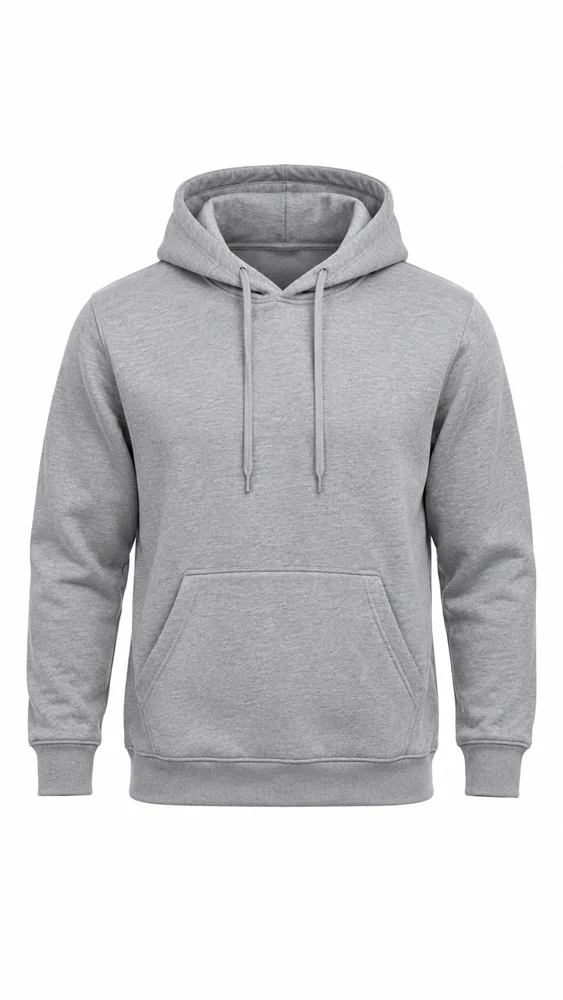
For womenswear, menswear and ethnic sets, on-model fashion shoots usually convert best because buyers can judge drape, length and fit. For kids’ wear, socks and combo packs, neat top-down flat lay photography keeps every product clear and avoids the off-model rule problem entirely. If you are unsure which suits your catalogue, our Amazon model photography guide compares the options in detail.
| Image slot | What to show | Tip from the studio |
|---|---|---|
| Main | Front view on pure white | Garment fills about 85% of the frame |
| 2 | Back view | Same pose and light as the front |
| 3 | Side or three-quarter view | Shows fit and length |
| 4 | Fabric and print close-up | Macro detail of weave, embroidery or print |
| 5 | Detail shot | Neckline, buttons, pockets, waistband |
| 6 | Size and model info | “Model is 5’8″ and wears M” |
| 7 | Lifestyle or styled look | Shows the occasion — office, festive, casual |
Video is the next upgrade once you have the basics. A short model video showing walk, turn and fabric movement answers the “how does it fall?” question that still photographs cannot. Here is an example of the kind of kurti video we shoot for marketplace listings.
Which Fulfilment Option Suits a New Clothing Seller?
Most new clothing sellers start with Easy Ship or self-ship to keep control of stock, then move fast-selling styles to Fulfilled by Amazon (FBA). FBA can improve delivery speed and Prime eligibility, but it ties up stock in Amazon’s warehouses.
Apparel has more SKUs per style than most categories, so stock planning matters. Sending all 18 children of one kurta to FBA before you know which sizes sell can lock up cash. A common approach is to start with self-fulfilment, watch two to four weeks of size data, and then send only the proven sizes and colours to FBA.
| Option | Who packs | Who delivers | Best for |
|---|---|---|---|
| Fulfilled by Amazon (FBA) | Amazon | Amazon | Proven best-sellers, Prime badge |
| Easy Ship | You | Amazon’s delivery network | New styles, testing sizes |
| Self Ship | You | Your courier | Sellers with existing logistics |
Whichever option you choose, pack each garment folded in a clear polybag with a size sticker that matches the SKU. Wrong-size dispatches are a hidden source of returns that has nothing to do with the customer. Menswear sellers in particular should double-check kurta and shirt sizes, because the bags look almost identical on a packing table.
What Will Your First Catalogue Shoot Cost?
At Uniqs Studio, apparel catalogue images start from ₹250 per ghost mannequin image, ₹290 per flat lay product and ₹400 per product for model photography. The table below lists our current rates and turnaround for apparel and accessories.
| Shoot type | Images | Turnaround | Price |
|---|---|---|---|
| Footwear | 4–5 angles | 5 days | ₹245 / product |
| Bags & handbags | 4–5 angles | 4–5 days | ₹295 / product |
| Ghost mannequin | 1 angle | 3–4 days | ₹250 / image |
| Flat lay | 2–3 angles | 6 days | ₹290 / product |
| Model Photography | 5–6 angles | 4–5 days | ₹400 / product |
| Ecommerce Reels Video | 20–25 seconds | 4–5 days | ₹900 / product |
| Garment Video with Model | 25–30 seconds | 4–5 days | ₹1,200 / garment |
Prices are per product/image as listed; call or WhatsApp +91-8076745824 for bulk catalogue quotes.
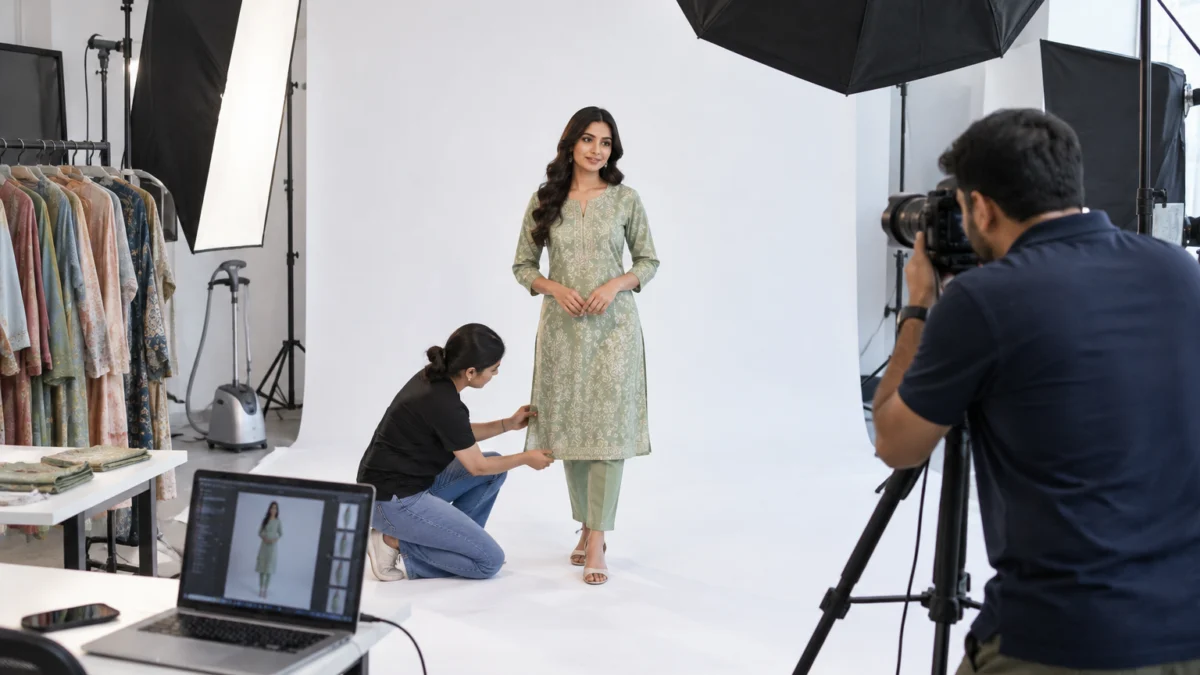
To get the most from a shoot, prepare garments properly: steam them, remove loose threads and bring every size you want shown in the size-info image. Our checklist on garment preparation before a fashion shoot covers steaming, tagging and packing so nothing slows the day down.
What Common Mistakes Slow Down New Clothing Sellers on Amazon India?
The biggest mistakes are creating separate listings for each size, copying generic size charts, using phone photos with coloured backgrounds, and leaving attributes blank. Each one either blocks the listing or quietly increases returns.
- One listing per size. Splits reviews and confuses shoppers. Use parent-child variations instead.
- Copy-paste size charts. Your pattern is unique; measure your own garments.
- Coloured or cluttered main images. Off-white walls, hangers and props can lead to suppressed listings.
- Colour mismatch. If the maroon on screen looks red in hand, expect “not as described” returns. Colour-correct every image.
- Empty attributes. Missing fabric, fit or sleeve values keep you out of filters.
- Late trademark filing. Waiting until a copycat appears costs months.
- Keyword-stuffed titles. Follow the category’s title style: brand, product type, key feature, colour.
Your 30-Day Checklist to Start a Clothing Business on Amazon
Split the launch into four weeks: paperwork, catalogue setup, images and content, then going live and reviewing data. Following this order means each step builds on the last instead of being redone.
- GSTIN, PAN and bank details ready
- Seller Central account created and verified
- Trademark search and Class 25 filing started
- Category path chosen for each style
- SKU pattern and variation template ready
- Size chart measured from finished garments
- Main, back, side, detail and size-info images shot
- Titles, bullets and attributes written
- One short video for hero styles
- Listings published and checked on mobile
- Fulfilment method set per style
- Size and return reasons reviewed weekly
Sellers who follow this order usually launch with fewer rejected listings because each step relies on the one before it. If you would like a second pair of eyes on your plan, email your style list to [email protected] and Uniqs Studio will reply with a suggested shot plan for your Amazon.in catalogue.
Frequently Asked Questions About Selling Clothes on Amazon India
These are the questions new apparel sellers ask us most often before they list their first styles. Each answer is short enough to act on today.
For practical purposes, yes. Clothing is a taxable category, and Seller Central asks for a GSTIN for apparel sellers. Keep the legal name and address on your GST certificate identical to your Seller Central details to avoid verification delays.
Yes. A trademark is not needed to open an account or list products. It is needed for Brand Registry, which gives you A+ Content, a Brand Store and stronger protection, so most own-label sellers file in Class 25 early.
Kids’ and baby clothing should be shown off-model on the main image, as a flat lay or ghost mannequin shot on pure white. You can use on-model photos in the secondary image slots.
Amazon’s guidance asks for at least 1,000 pixels on the longest side so zoom works. Uniqs Studio delivers 2,000 pixels or more on a pure white background so fabric detail stays sharp on large screens.
Measure finished garments for each size, build a chart in cm and inches, and attach it through the size chart option in Seller Central if your account has it. Also add a size-info image showing the model’s height and size worn.
At Uniqs Studio, ghost mannequin images are ₹250 per image, flat lay is ₹290 per product and model photography is ₹400 per product, with 3–6 day turnaround depending on the shoot type.
What Should You Do Next After Setting Up Your Amazon Clothing Listings?
Once your account, category, variations and size chart are ready, the next decision is how to photograph your range. Images decide both your click-through and your return rate, so plan them before you upload.
The quickest way to sell clothes on Amazon India with confidence is to get the foundation right once: correct category, clean variations, an honest size chart and compliant images. Your next step is to read our guide to fashion photography rules for Amazon clothing sellers, which explains shot by shot how to plan images that win clicks without breaking the rules.
When you are ready to shoot, call Satyam on +91-8076745824, message us on WhatsApp at +91-8076745824, or book a studio visit in Kalkaji, New Delhi. Uniqs Studio shoots for sellers across Delhi, Gurgaon, Noida, Faridabad and Ghaziabad, Monday to Saturday, 10 am to 7 pm.