
Kids clothing is small, soft and full of detail, which is exactly why it so often looks limp and lifeless in a catalogue. Kidswear flat lay photography solves that when it is done with intent: the garment is shaped, lit evenly and shot from directly above, so a parent can read the colour, print and size in one glance. If you want the full service view first, our page on flat lay photography explains how we shoot apparel catalogues every week.
At Uniqs Studio, Satyam and the team have spent 9+ years shooting ecommerce catalogues for 500+ D2C brands and marketplace sellers, and kidswear has its own set of problems: garments that are smaller than an A3 sheet, sets with four or five pieces, combo packs, and parents who zoom in to check fabric and buttons before they buy. In this guide you will learn the setup we use, 10 styling rules that make tiny garments look premium, a shot list for every kids product type, how to handle combo packs, how flat lays should change for different marketplaces, and what a professional shoot costs.
What are the key takeaways?
Good kidswear flat lay photography is about shape, scale and honesty. Make the garment look worn-in rather than flat, show its true colour and give parents a clear sense of size.
- Shoot straight down (90°) on a clean white or very light background so small garments read clearly in a mobile feed.
- Pad sleeves, chest and hems lightly with tissue so a tiny shirt or frock looks three-dimensional instead of pressed flat.
- Show every piece in a set or combo pack in the first image, then give each piece its own detail shot.
- Keep props minimal and child-safe; never let a toy or accessory look like it is included in the sale.
- Match colours to the physical garment and keep the same layout across your whole range for a consistent catalogue.
What is kidswear flat lay photography?
Kidswear flat lay photography is the process of laying children’s and baby clothing on a flat surface, styling it into a natural shape and photographing it from directly above. It gives online shoppers a clean, complete view of the garment without a model.
A flat lay is not simply “put the frock on the floor and click”. The garment is steamed, aligned, gently shaped so the waist, sleeves and hem look the way they would on a child, and then lit so the colour and texture are accurate. For kids clothing this matters more than for adult wear, because parents are buying for a body they cannot try the garment on. They rely on the photo to judge length, fit and fabric weight.
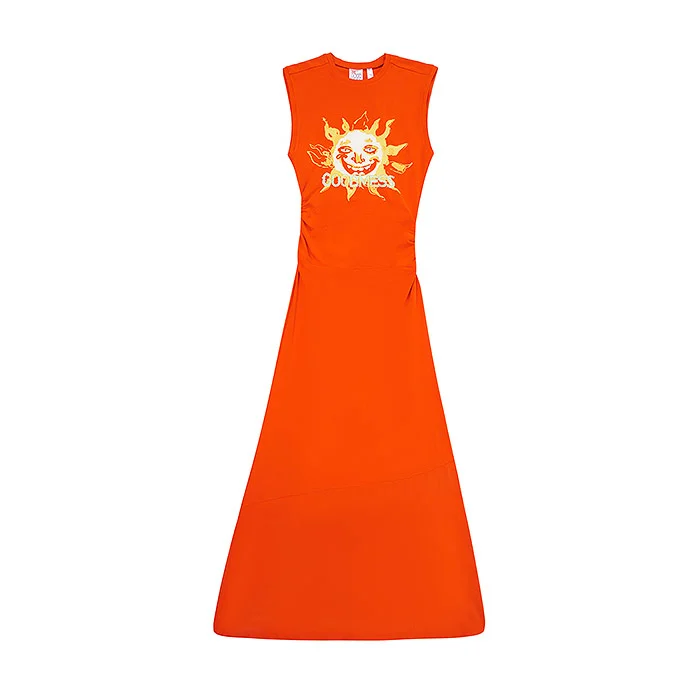
In most kidswear catalogues, flat lays appear in three places: as the main image for basics and baby essentials, as a “what’s in the box” image for sets and combo packs, and as supporting images next to on-model photos. Knowing which job your flat lay is doing tells you how to style it.
Why does flat lay suit kids and baby clothing so well?
Flat lays are fast, consistent and affordable for large kidswear ranges, and they show the whole garment without the casting, consent and time limits that come with child models. For basics, babywear and combo packs, they are often the clearest way to sell.
Kidswear brands usually carry many small SKUs in several sizes and colours. A kidswear catalogue shoot with child models needs short shoot slots, parents on set, breaks and a lot of patience; a flat lay setup can photograph dozens of styles in a day with exactly the same angle and light. That consistency makes your listing grid look like a brand rather than a jumble.
- Whole-garment view: parents see the full print, neckline, closures and length without a pose hiding anything.
- Consistency at scale: every SKU gets the same framing, which is ideal for size and colour variants.
- Perfect for babywear: rompers, onesies, jhablas and sleep suits are hard to shoot on infants; a well-styled baby romper flat lay shows them clearly.
- Sets read instantly: a top, bottom and accessory laid together explain the product in one image.
Flat lay does have limits. It cannot show how a twirl dress moves or how a jogger fits around the knee, which is why many brands pair flat lays with a few model images or a short video for hero styles.
What setup do you need for kidswear flat lay photography?
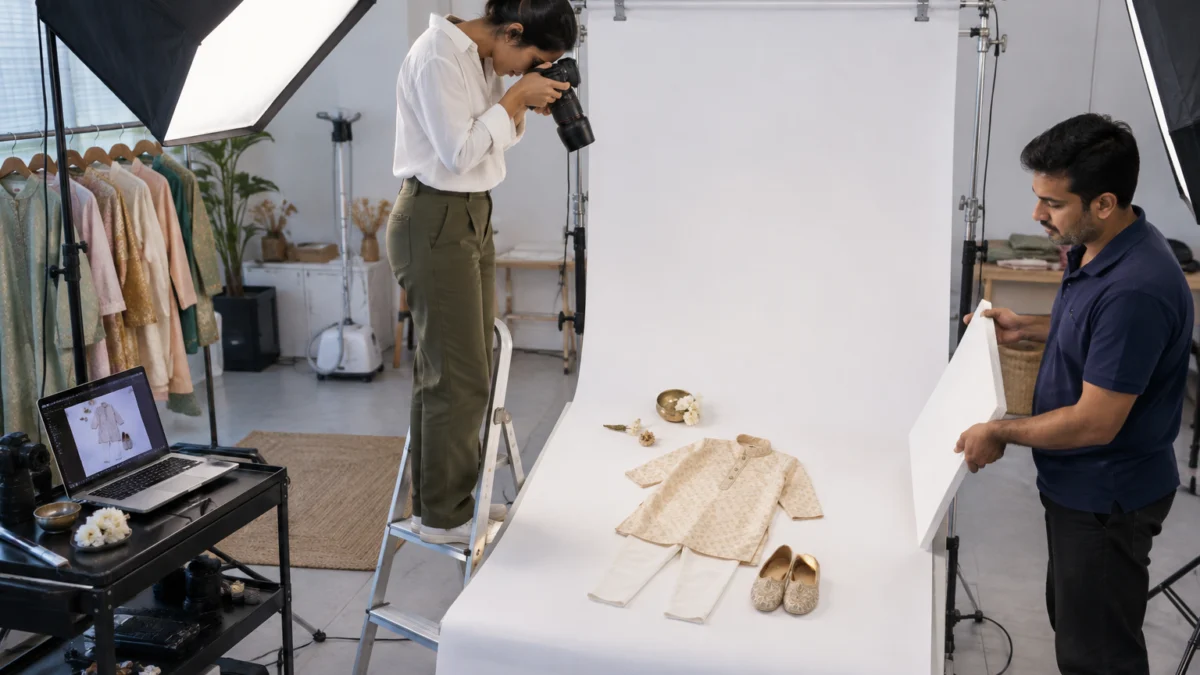
You need a clean flat surface, a camera mounted directly above the garment, soft even light from two sides, and a way to check colour on a calibrated screen. Professional studios add a tether to a laptop so every frame is checked at full size.
Camera height, lens and angle
Mount the camera on an overhead arm or shoot from a stable ladder so the sensor is parallel to the table. Even a slight tilt makes a small garment look wider at one end. A 50mm lens on a full-frame body at roughly 1.2–1.5 metres covers most kids garments; for newborn sizes you can come closer. Use an aperture around f/8 so collars and pockets stay sharp across the whole frame.
Lighting that shows fabric without harsh shadows
Two large softboxes or strip boxes at 45° on either side give even light; a large octabox directly above works well for very small items. In our studio we use Godox and Elinchrom strobes with strip softboxes and octaboxes, but the principle is what matters: big, soft sources placed close enough to wrap the garment, with a white card on the open side to lift shadows in folds.
Background and surface
White seamless paper or a white acrylic sheet is the safest choice for main images. Light pastels or warm beige work for styled secondary images, as long as the colour does not reflect onto white garments. Keep a lint roller, steamer, pins, clips and acid-free tissue paper within reach.
What are the 10 styling rules for kidswear flat lay photography?
These ten rules come from the mistakes we fix most often on kids catalogues. Follow them and your flat lays will look full, honest and consistent across the range.
1. Steam first, always
Kids cotton creases quickly and fold lines from packaging look much larger on a small garment. Steam every piece just before it goes on set, and steam again if it has been sitting on the rack for an hour.
2. Give the garment a body with tissue
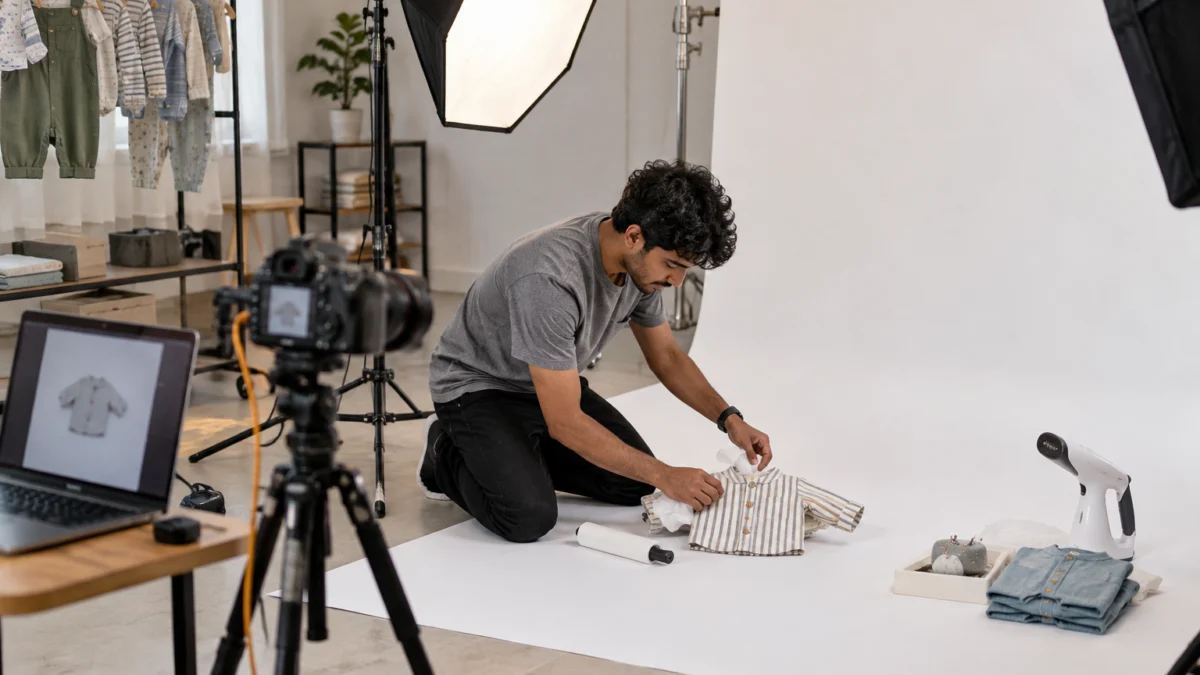
Slide folded tissue into the chest, sleeves and shorts legs so the garment has gentle volume. This single step separates amateur kids clothing flat lay images from professional ones. Use white tissue for light fabrics so nothing shows through.
3. Shape sleeves and legs naturally
Angle sleeves slightly down and away from the body, as they would hang on a child. Keep legs of shorts and pants parallel with a small gap between them. Avoid dramatic “jumping” poses on main images; they look fun but hide the true length.
4. Centre and square every garment
Use the camera’s grid overlay to centre the neckline and keep shoulders level. Leave even breathing space on all sides so marketplaces can crop to square or portrait without cutting off the hem.
5. Show trims, closures and safety details clearly
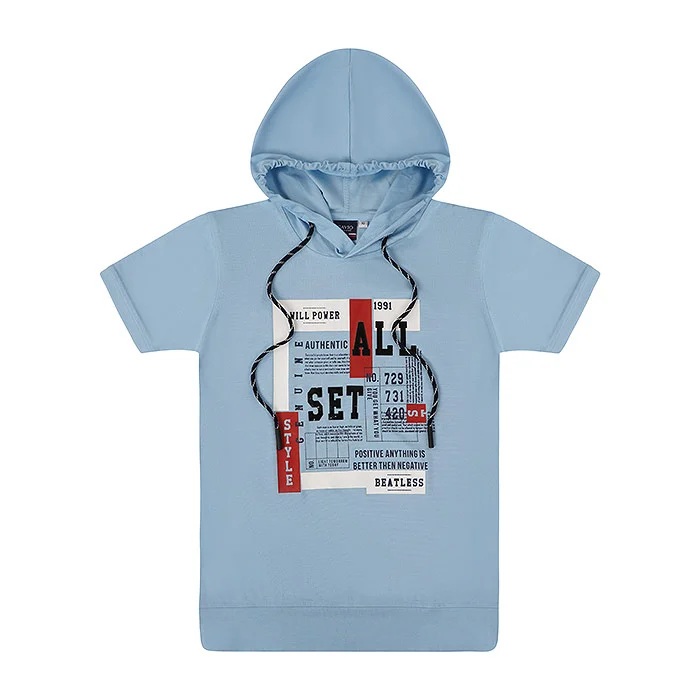
Parents look closely at snaps, buttons, elastic waists, zips and drawstrings. Lay hoods open, keep cords neat and straight, and add a close-up of closures. If a style has cords or small attachments, make sure the photo reflects exactly what is supplied so buyers can judge it for their child’s age.
6. Give parents a sense of scale
On white, a 2-year size and a 10-year size can look identical. Keep the camera height fixed per size band so smaller sizes genuinely look smaller, and add a size or measurement image to the gallery. A measurement graphic made from your own flat lay is far more useful than a generic size chart.
7. Keep props minimal and clearly not for sale
A small wooden toy or a sprig of leaves can soften a secondary image, but the main image should show only what the buyer receives. Never add accessories that could be mistaken as included, and avoid tiny loose props near baby products in styled images.
8. Match colour to the physical garment
Kids clothing often uses bright, saturated dyes that cameras can exaggerate. Shoot with a grey card, white-balance in editing and compare the screen to the garment under daylight. “Colour different from image” is one of the most common reasons parents return kids clothing.
9. Use the same layout for every variant
If you sell one frock in four colours, all four images should have the same position, crop and light. This is what makes flat lay styling for kidswear look like a brand system, and it lets buyers compare colours instantly on the listing.
10. Retouch lightly and honestly
Remove lint, loose threads and dust, and clean the background, but do not change the cut, slim the waist or invent a print. Honest retouching keeps returns down and reviews positive.
Which shots does each kidswear product need?
Most kids products need four to six images: one clean main flat lay, a back view, two or three detail shots and a size or set image. Babywear and combo packs need an extra “everything included” frame.
Use this table as a starting shot list for your next kidswear catalogue shoot. Adjust the number of detail shots to the price point; premium festive wear deserves more close-ups than a basic vest.
| Product | Must-have shots | Styling note |
|---|---|---|
| Frocks and dresses | Front, back, neckline detail, fabric/print close-up | Flare the skirt slightly; keep straps symmetrical |
| Shirts and t-shirts | Front, back, collar/button detail, print close-up | Pad the chest; angle sleeves down naturally |
| Rompers, onesies, jhablas | Front, back, snap/closure detail, size reference | Open legs slightly so the crotch snaps are visible |
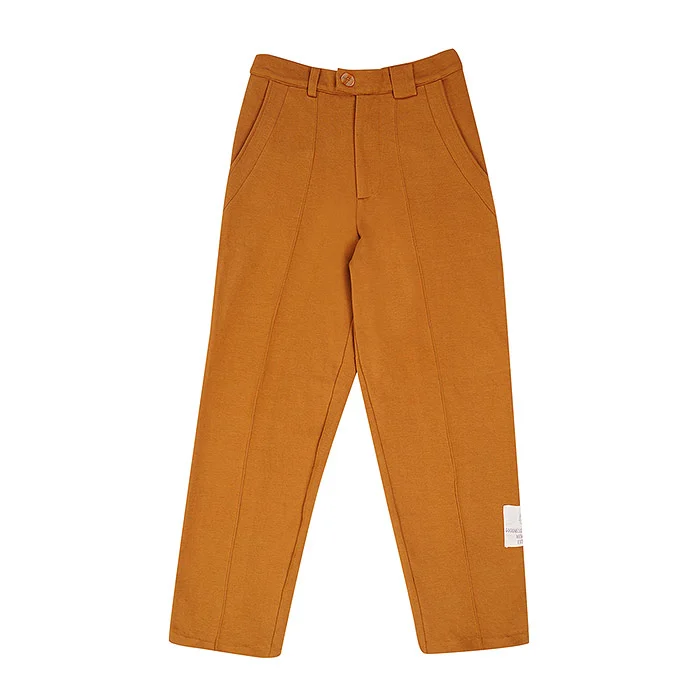
| Bottoms (shorts, joggers, pants) | Front, back, waistband detail, pocket close-up | Legs parallel; show elastic or drawcord clearly |
| Co-ord and clothing sets | All pieces together, each piece alone, detail | Top overlaps the bottom slightly at the waist |
| Combo packs | All items in a grid, one hero item, fabric close-up | Same spacing between items; count must match the title |
| Festive kidswear | Full set, embroidery close-up, dupatta or jacket detail | Add a styled secondary image on a warm backdrop |
For hero styles, add movement. A flat lay explains the garment, but 20–30 seconds of motion shows how it falls and moves on a child. Our team produces short garment videos from the same shoot day, so you get stills and video with matching colours.
How do you photograph kids clothing sets and combo packs?
Photograph the complete set first, laid out exactly as the buyer will receive it, then shoot each piece separately. For combo packs, the number of items in the image must match the listing title.
Sets are where flat lay beats every other format. A boys’ shirt-and-tee set, a girls’ top-and-shorts co-ord or a pack of three rompers can be understood in a single frame. The trick is to keep the arrangement tidy: overlap the top slightly over the waistband of the bottom, align centres vertically, and leave equal gaps between items in a combo grid.
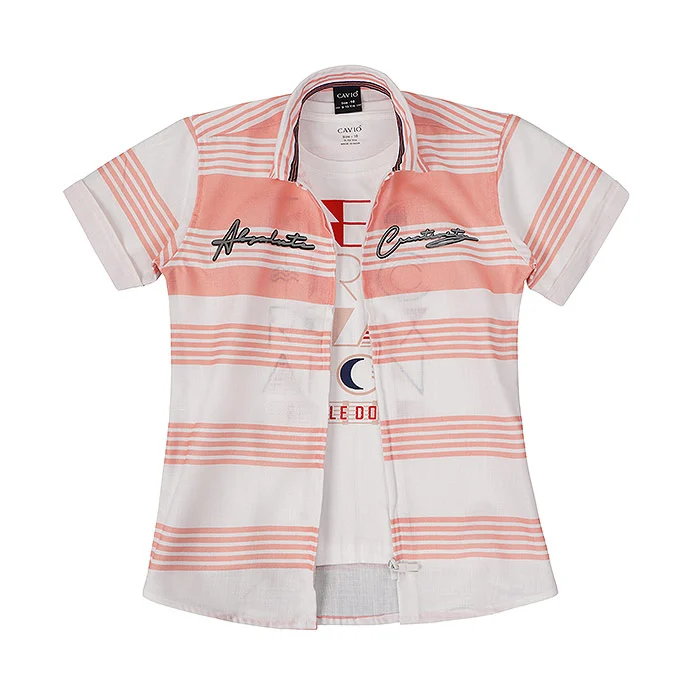
- Hero frame: the full outfit or every item in the pack, styled together.
- Individual frames: each piece alone, front view, same camera height.
- Layering frame: for layered sets, show how the pieces sit together with the outer layer open.
- Detail frame: fabric, print and closures of the most important piece.
- Count check: confirm the number of items, colours and sizes visible matches the title and description.
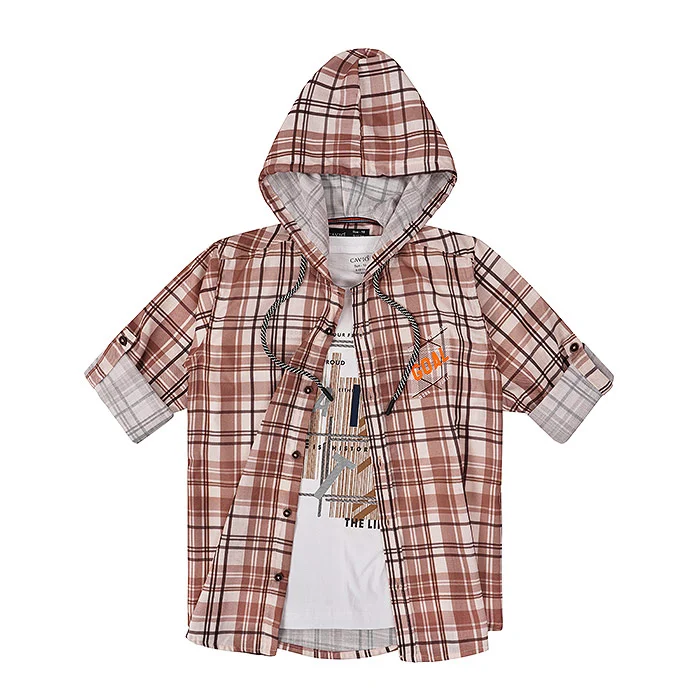
If you already use our guide to garment flat lay styles for clothing catalogues, think of combo packs as the “grid” style with stricter spacing rules, because parents count items before they buy.
How should kidswear flat lays change for Amazon, Myntra and Meesho?
The core image stays the same, but the main-image rules, crops and the role of the flat lay differ by marketplace. Always check the latest category style guide in your seller panel before a large shoot.
Amazon expects the main image to show the product on a pure white background with nothing that is not included in the sale, and the product should fill most of the frame; the official Amazon product image requirements spell this out. Clean flat lays work very well for Amazon kids basics and packs.
Myntra tends to lean on on-model imagery for fashion categories, so for kidswear on Myntra a flat lay is often a supporting image or a set image rather than the first frame. Meesho buyers browse almost entirely on mobile, so a bright, square-friendly flat lay with the garment filling the frame helps a small product stand out in the feed.
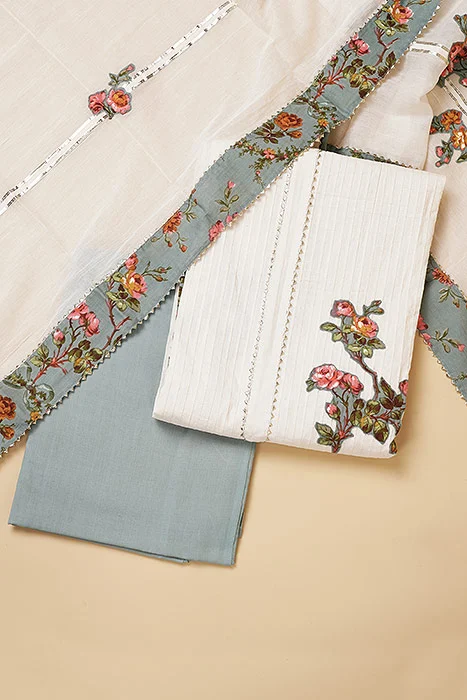
Image file names and alt text also matter for Google Images traffic. Name files descriptively (for example “girls-yellow-cotton-frock-front.jpg”) and follow the basics in Google’s image SEO best practices. Our post on garment image SEO goes deeper into naming and alt text for clothing.
Flat lay vs kids model shoot vs ghost mannequin: which should you choose?
Choose flat lay for basics, babywear, sets and combo packs; choose a kids model shoot for hero and festive styles where fit and movement sell; choose ghost mannequin for structured pieces like jackets and blazers that need a 3D shape.
| Factor | Flat lay | Kids model shoot | Ghost mannequin |
|---|---|---|---|
| Best for | Basics, babywear, sets, combo packs | Hero, festive and party styles | Jackets, blazers, structured tops |
| Shows fit on body | Partly (with good shaping) | Yes | Shape only |
| Consistency across SKUs | Very high | Medium | High |
| Speed on set | Fast | Slow (short child slots) | Medium |
| Extra planning | Minimal | Casting, parent consent, breaks | Mannequin in the right kids size |
Ghost mannequin is less common for kidswear because small mannequin forms are needed for each size band, but for a structured winter jacket or a party blazer it gives a crisp shape that a flat lay cannot. For those styles, ghost mannequin shots sit well next to flat lays in the same gallery. Many brands mix all three: flat lays for the range, a model image or two for bestsellers, and mannequin shots for outerwear.
What mistakes make kids clothing flat lays look cheap?
Most weak kids flat lays fail on the same few points: creases, flat lifeless shapes, wrong colour, cluttered props and inconsistent layouts. Each one is easy to fix before the shutter is pressed.
- Shooting garments straight out of the packet with fold lines and creases.
- Pressing the garment completely flat so it looks like a paper cut-out.
- Shooting at an angle, which distorts length and makes the hem look wider than the shoulders.
- Using a yellow room light or mixed daylight that shifts colours.
- Filling the main image with toys, balloons or shoes that are not part of the sale.
- Different camera heights for each colour variant, so the same frock looks like different sizes.
- Skipping the back view and closure close-up that parents need to check.
- Over-editing prints and colours until the delivered garment no longer matches.
Preparation fixes half of these. Our checklist on garment preparation before a shoot covers steaming, tagging and packing so your kids range arrives on set ready to shoot.
How much does kidswear flat lay photography cost?
At Uniqs Studio, flat lay photography is ₹290 per product with 2–3 angles and a 6-day turnaround. Model photography, ghost mannequin, footwear and video are priced separately, as listed below.
| Shoot type | Images | Turnaround | Price |
|---|---|---|---|
| Flat lay | 2–3 angles | 6 days | ₹290 / product |
| Ghost mannequin | 1 angle | 3–4 days | ₹250 / image |
| Model Photography | 5–6 angles | 4–5 days | ₹400 / product |
| Footwear | 4–5 angles | 5 days | ₹245 / product |
| Ecommerce Reels Video | 20–25 seconds | 4–5 days | ₹900 / product |
| Garment Video with Model | 25–30 seconds | 4–5 days | ₹1,200 / garment |
Prices are per product/image as listed; call or WhatsApp +91-8076745824 for bulk catalogue quotes.
Planning a kidswear catalogue shoot?
Send your SKU list on WhatsApp at +91-8076745824 or call Satyam on +91-8076745824 for a quote and shoot plan.
How does a kidswear flat lay shoot work at Uniqs Studio?
A typical shoot runs in five stages: brief and shot list, garment preparation, styling and shooting, colour-checked editing, and delivery in marketplace-ready sizes. You can send products to our Delhi studio or plan a shoot across Delhi NCR.
- Brief and shot list: we agree which SKUs get flat lays, which need detail shots, and which styles deserve a model image or video.
- Preparation: garments are unpacked, tagged by SKU, steamed and checked for loose threads and marks.
- Styling and shooting: each piece is padded, shaped and photographed from directly above with tethered capture, so the stylist and photographer check every frame on a large screen.
- Editing: background clean-up, lint removal and colour matching against the physical garment.
- Delivery: files are exported in the sizes and crops your marketplaces need, named by SKU.
Our studio is at 1800/9, Kalkaji Extension, New Delhi, and we work with brands in Delhi, Gurgaon, Noida, Faridabad and Ghaziabad. To book a slot, call +91-8076745824 or email [email protected]. If you are comparing studios, our post on professional flat lay services for fashion brands explains what to ask before you book.
What should your kidswear flat lay checklist include?
Run this checklist before every shoot day and again before upload. It catches the small errors that cause rejections, poor click-through and avoidable returns.
- Every garment steamed, lint-rolled and checked for loose threads.
- Camera parallel to the table, fixed height for each size band.
- Soft, even light from both sides; white card filling shadows.
- Main image on clean white with only the items included in the sale.
- Back view, closure close-up and fabric close-up shot for every style.
- Sets and combo packs: hero frame plus each piece; count matches title.
- Colour compared against the physical garment under daylight.
- Same layout and crop for all colour variants.
- Files named by SKU with descriptive alt text ready for upload.
Frequently asked questions about kidswear flat lay photography
These are the questions kids and baby clothing brands ask us most often before booking a flat lay shoot.
Pure white is best for main images because every marketplace accepts it and bright kids colours stand out on it. Light pastel or warm beige backgrounds work for styled secondary images, as long as they do not tint white garments.
Plan four to six images per style: a main flat lay, a back view, two or three detail shots and a size or set image. Combo packs need one extra frame showing every item together.
Keep the camera height fixed for each size band so smaller sizes look smaller, and add a measurement image with chest and length marked on your own flat lay. This is clearer for parents than a generic size chart.
Use props only in secondary images and keep them minimal. The main image should show only what the buyer receives, and any prop must clearly look like decoration rather than part of the product.
Flat lay photography at Uniqs Studio is ₹290 per product with 2–3 angles and a 6-day turnaround. Ghost mannequin is ₹250 per image and model photography is ₹400 per product.
Flat lay is better for basics, babywear, sets and combo packs because it is fast and consistent. A kids model shoot is better for festive and hero styles where fit and movement drive the sale. Many brands use both.
What is the next step for your kidswear catalogue?
Pick ten bestselling kids styles, apply the rules above and compare the new images against your current listings. Consistent, honest kidswear flat lay photography is usually the quickest visual upgrade a kids brand can make.
If you would rather hand the whole range to a team that shoots catalogues every week, Uniqs Studio can photograph your kids and baby clothing in our Delhi studio and deliver marketplace-ready files. Email [email protected] with your SKU list, call +91-8076745824, or WhatsApp +91-8076745824 to plan your shoot. Studio hours are Monday to Saturday, 10 am to 7 pm.