
Diamond jewellery photography is where most online jewellers lose the sale before the buyer even reads the price. A solitaire that looks alive across the counter often turns flat, grey or blown-out on a phone screen, and the buyer quietly scrolls to a competitor whose images simply look more honest. At Uniqs Studio, where jewellery photography for diamond and lab-grown brands is a daily job, we often meet sellers who come to us after trying to shoot at home.
This guide explains, step by step, how our studio captures true sparkle, clean metal whites and certificate-ready close-ups. You will learn the lighting logic behind brilliance and fire, the exact workflow we follow on set, and the mistakes that make diamond jewellery product images look cheap. Satyam has spent 9+ years photographing products for 500+ D2C brands and marketplace sellers, and the advice below comes straight from that shoot floor.
Key Takeaways
- Sparkle comes from contrast, not more light: diamonds need black and white reflections around them to show brilliance.
- Expose for the brightest facet first; a clipped highlight can never be recovered in editing.
- Keep white balance locked with a grey card so white gold, platinum and colourless stones stay neutral.
- Certificate-ready close-ups need focus stacking, a clean stone and the certificate shot as a separate supporting image.
- A short sparkle video converts the movement buyers expect from a diamond into proof they can see.
What makes diamond jewellery photography different from gold jewellery shoots?
Diamond jewellery photography is different because a diamond does not show its own colour; it shows whatever surrounds it. Gold is about controlling one big reflection, while a diamond is about building dozens of tiny black and white reflections inside the stone. Get the surroundings right and the stone sparkles; get them wrong and it looks like glass.
A polished diamond acts like a tiny mirror ball with 57 or 58 facets on a round brilliant cut. Each facet reflects a small piece of the room, so a white tent around the stone gives you a dull, milky gem, while a carefully mixed set of dark and bright cards gives you the crisp checkerboard pattern buyers read as brilliance. That is the single biggest idea in how to photograph diamonds, and it is the reason a phone in a light box rarely works.
Metal adds a second layer. White gold and platinum must look neutral and bright, yellow and rose gold must keep their warmth, and the prongs holding the stone must be sharp and clean. Diamond jewellery photography therefore means solving two lighting problems in one frame, and at Uniqs Studio we usually build the set around the stone first and then shape the metal with separate reflectors.
Why does sparkle disappear in most diamond photos?
Sparkle disappears for three common reasons: the light is too soft and even, the exposure is too bright, or the stone is dirty. Soft, wrap-around light kills contrast between facets, overexposure clips the bright facets into flat white patches, and a single fingerprint scatters light into a grey haze. Fix those three and most images improve instantly.
Buyers judge a diamond on three visual effects. Brilliance is the white light returning from the facets, fire is the flashes of rainbow colour created by the dispersion of light as it splits inside the stone, and scintillation is the sparkle you see when the stone or the viewer moves. A still photograph can show brilliance and a hint of fire, but scintillation needs movement, which is why we pair stills with a short video for premium pieces.
- Too much diffusion: a light tent on all sides gives every facet the same brightness, so the stone loses its pattern.
- Overexposure: auto modes brighten the frame to make the white background pure, which blows out the table facet.
- Wrong angle: shooting a ring from straight above shows the table but hides the crown facets that carry most sparkle.
- Surface dirt: skin oil and dust on the pavilion reduce light return, and macro lenses reveal every speck.
What equipment do you need for diamond ring photography?
You need a full-frame camera with a true 1:1 macro lens, a solid tripod, controllable studio strobes or continuous lights with small and large modifiers, and a set of black and white cards. Tethering to a laptop is essential, because sparkle and focus must be judged at 100 per cent zoom. Everything else is refinement.
| Equipment | What we use it for | Why it matters for diamonds |
|---|---|---|
| Full-frame mirrorless camera | Main capture, tethered | Clean shadows and wide dynamic range keep bright facets and dark metal both readable |
| 100mm macro lens | Rings, studs, prongs, inscriptions | Life-size magnification with enough working distance for cards around the stone |
| Strip softboxes and a small octabox | Metal shaping and background | Long, even highlights on the shank without washing out the stone |
| Bare or gridded small source | Fire and point sparkle | Small, hard light creates the coloured flashes that soft light hides |
| Black and white foam cards | Facet contrast | Builds the black and white pattern that reads as brilliance |
| Focus rail or in-camera focus bracketing | Focus stacking | Front prong to back of the band sharp in one final image |
| Grey card and colour checker | White balance | Neutral white gold and colourless stones across the whole catalogue |
On our set the lighting is a mix of Godox SK 400II strobes and Elinchrom heads with strip boxes and octaboxes, which gives us both the broad light the metal needs and the small, precise sources the stone needs. You do not need the same brands, but you do need lights whose power you can dial down in small steps, because diamonds are tiny and very reflective.
How do you light diamonds for true sparkle without blown highlights?
Light diamonds with a controlled mix of a broad soft source for the metal and one or two small hard sources for the stone, then surround the piece with black and white cards. Expose so the brightest facet sits just below pure white, and check it on the histogram. This combination is the core of diamond sparkle photography.
Build contrast with black and white cards
We place small black cards just outside the frame, close to the stone, and white cards slightly further away. The black cards give the facets their dark segments; the white cards give the bright ones. Moving a single black card by a centimetre can change a dull stone into a lively one, so we adjust them while watching the tethered screen at full zoom. This is the step most sellers skip, and it is the step that separates studio diamond ring photography from a phone snap.
Use small hard light for fire
Fire, the rainbow flashes, needs a small, crisp light source. A gridded head or a small snoot aimed at the crown from a low angle creates spectral flashes that a big softbox cannot. We keep it subtle for ecommerce: two or three clear flashes look premium, while a stone full of rainbow spots looks edited and makes buyers suspicious.
Expose for the brightest facet in diamond jewellery photography
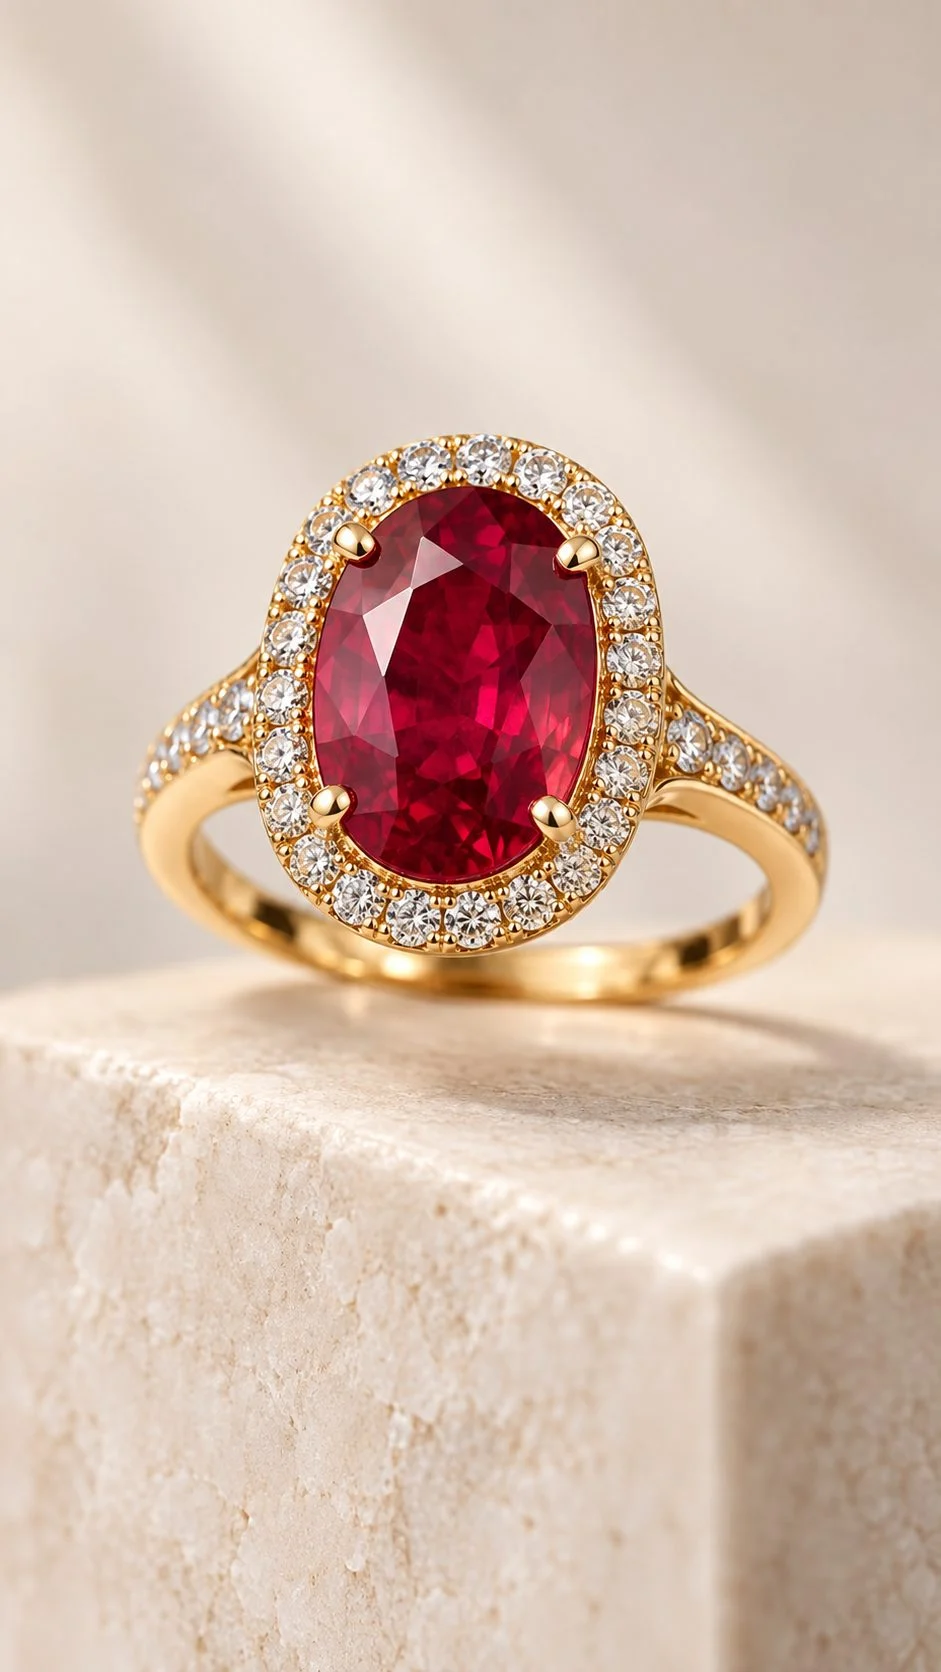
Diamond jewellery photography fails when exposure is set for the background. We set exposure so the table facet is bright but still holds detail, usually around ISO 100 and f/11 to f/16 for depth, then lift the background separately with its own light. If the histogram touches the right edge on the stone, we lower power, because a clipped facet becomes a flat white blob that no retoucher can bring back.
How do you keep whites clean in diamond jewellery product images?
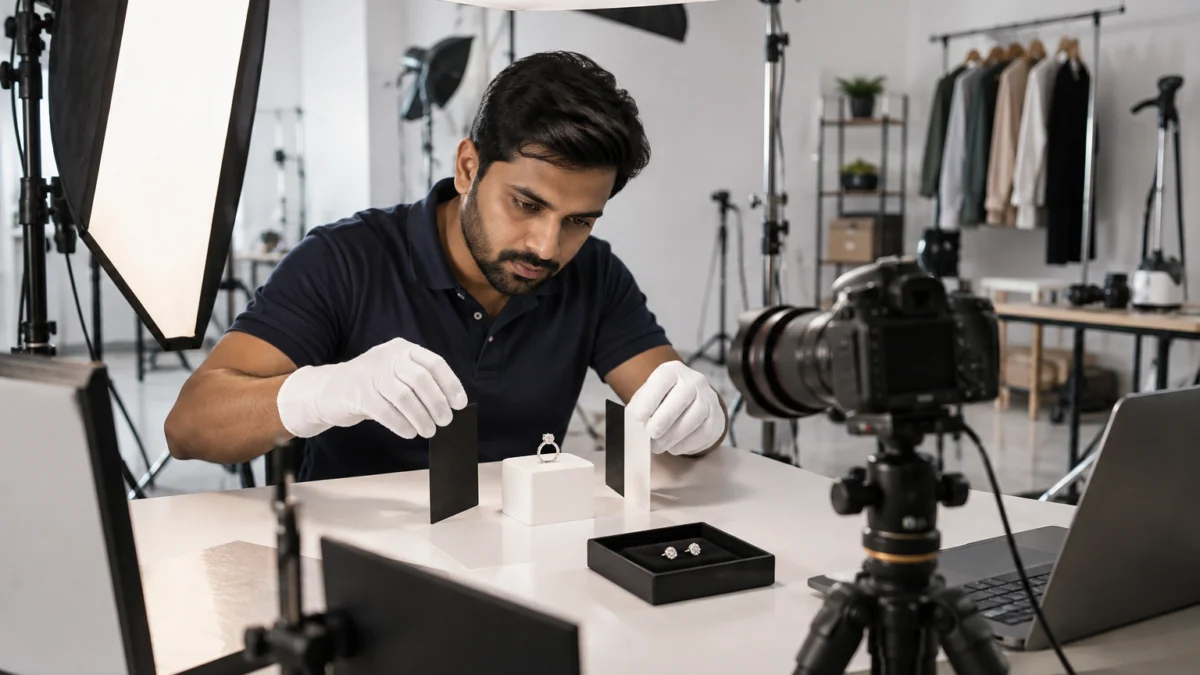
Keep whites clean by locking white balance with a grey card, lighting the white background separately from the jewellery, and protecting the metal from coloured reflections in the room. Colourless diamonds and white metals show every colour cast, so even a coloured wall or a shirt near the set can tint the stone.
We shoot on a pure white seamless and light it with its own heads so the background reaches white without pushing the jewellery exposure. Then we build the jewellery lighting at a lower level. This separation is how we deliver marketplace-ready white backgrounds without the faint grey halo many sellers get from a single light. For specific marketplace rules, our breakdown of Amazon jewellery image requirements covers main image size, background and model-hand rules in detail.
White gold, platinum and yellow gold in one catalogue
White gold and platinum should read cool-neutral, never blue. Yellow and rose gold should keep their warmth without turning orange. We set a single neutral white balance for the whole session from a grey card, so all metals are shown as they really are. Correcting each image by eye leads to a catalogue where the same 18K yellow gold looks different on every listing, which is a fast route to returns.
Lab-grown diamond jewellery photos need the same honesty
Lab-grown diamonds are visually and chemically diamonds, so the lighting technique is the same. What changes is the selling story: buyers compare lab-grown prices closely and expect images that do not exaggerate colour or clarity. For lab grown diamond jewellery photos we avoid heavy whitening of stones and keep any certificate references accurate, and the product title and description should clearly state that the stone is lab-grown, as most marketplaces require.
How do you shoot certificate-ready close-ups of diamonds?
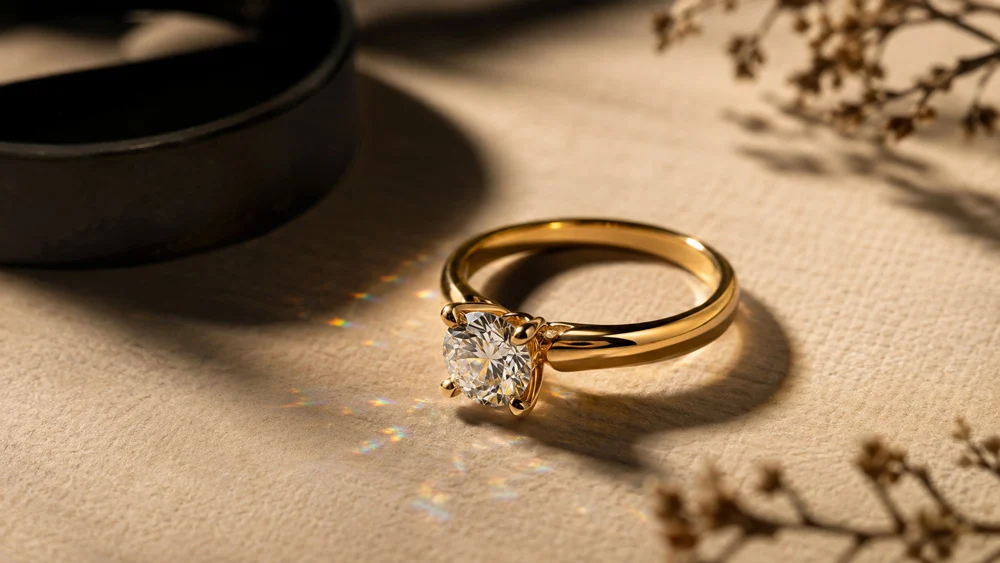
Certificate-ready close-ups are high-magnification images where the whole stone is sharp, the colour is neutral and nothing is retouched away that a buyer would see in person. We achieve this with focus stacking, a perfectly clean stone and a separate supporting image of the grading certificate. The goal is trust, not glamour.
At 1:1 magnification the depth of field is only a few millimetres even at f/16, so we use focus stacking: 8 to 20 frames at slightly different focus distances, merged into one image that is sharp from the front prong to the back of the band. For deeper macro detail, our guide to macro photography for rings, gemstones and engravings goes further into stacking settings and lens choice.
What a certificate-ready image set includes
- Front view of the stone, focus-stacked, with neutral colour.
- Side profile showing setting height, prongs and crown proportions.
- Top-down shot of the table for symmetry.
- Certificate image photographed flat and evenly lit, with the report number readable, used as a supporting gallery image.
- Girdle inscription close-up where the stone carries a laser inscription, if your brand wants to show it.
Buyers who understand the 4Cs of diamond quality look at your close-ups to confirm what the certificate says about colour and clarity. That is why we keep retouching to dust, lint and metal scratches only, and never paint out inclusions or whiten a stone beyond its graded colour. Misleading images may win a click, but they create returns and damage the trust a diamond brand depends on.
What is the step-by-step diamond jewellery photography workflow?
Our workflow has nine steps, from cleaning to final export, and each step protects sparkle, sharpness or colour accuracy. Following them in order is what makes results consistent across a 50-piece or 500-piece catalogue. Skipping cleaning or white balance always costs more time later in editing.
- Clean and inspect. Steam or ultrasonic clean where safe, then wipe with a lint-free cloth; handle only with cotton gloves from this point.
- Mount the piece. Use a clear acrylic riser, museum wax or a fine ring holder so the ring stands upright without visible support.
- Set the background light. Bring the white seamless to clean white with its own lights before lighting the jewellery.
- Lock white balance. Shoot a grey card under the final lights and set a custom white balance for the session.
- Light the metal. Place strip boxes to give long, smooth highlights along the band and setting.
- Build stone contrast. Add black and white cards and a small hard source until the tethered preview shows clear facet pattern and a few flashes of fire.
- Expose and check. Expose for the brightest facet, confirm on the histogram and at 100 per cent zoom.
- Capture the stack. Shoot a focus stack for each angle: front, side, top and on-model where needed.
- Retouch honestly and export. Merge stacks, remove dust and scratches, keep stone colour true, and export in each marketplace’s required size.
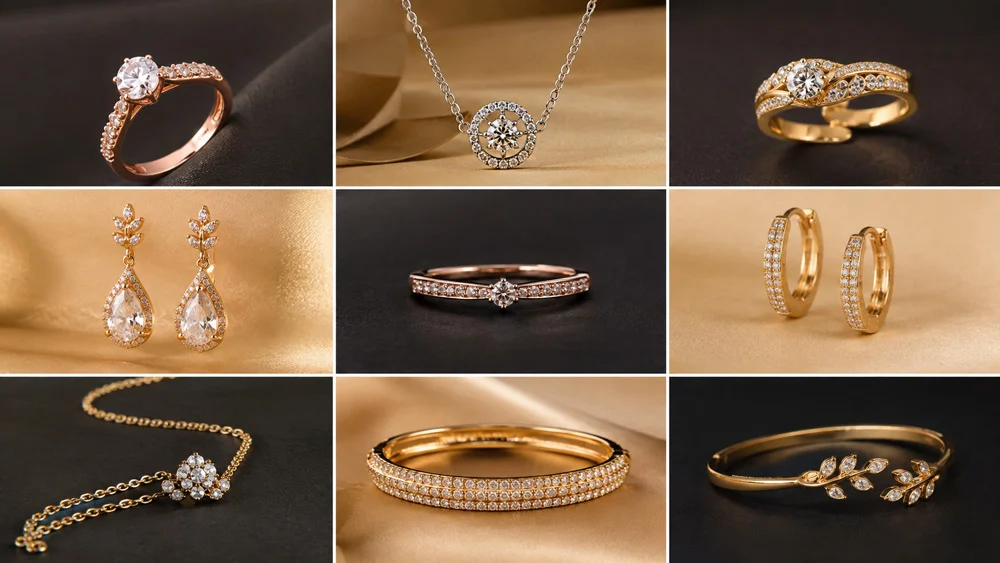
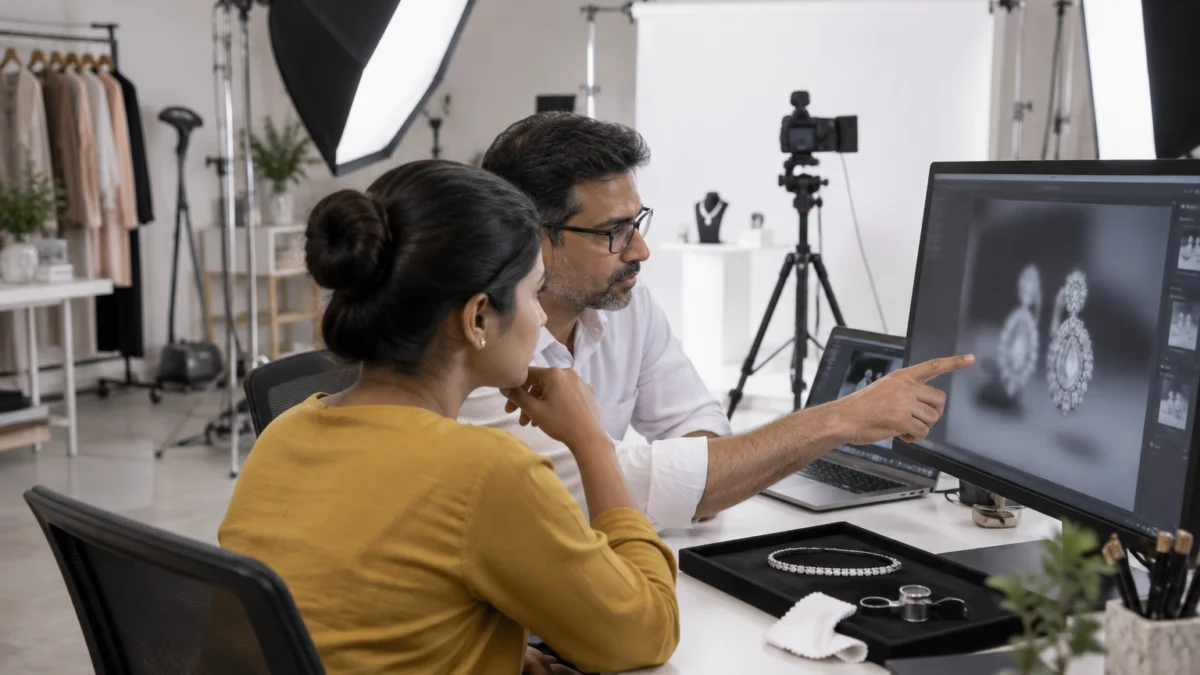
Retouching deserves its own plan, because it is where many diamond images are either rescued or ruined. Once the shoot is done, the stack merge, dust removal, metal clean-up and colour checks follow a fixed order in our studio, and that post-shoot stage is where consistency across hundreds of SKUs is won.
How should diamond earrings and bracelets be shot on model?
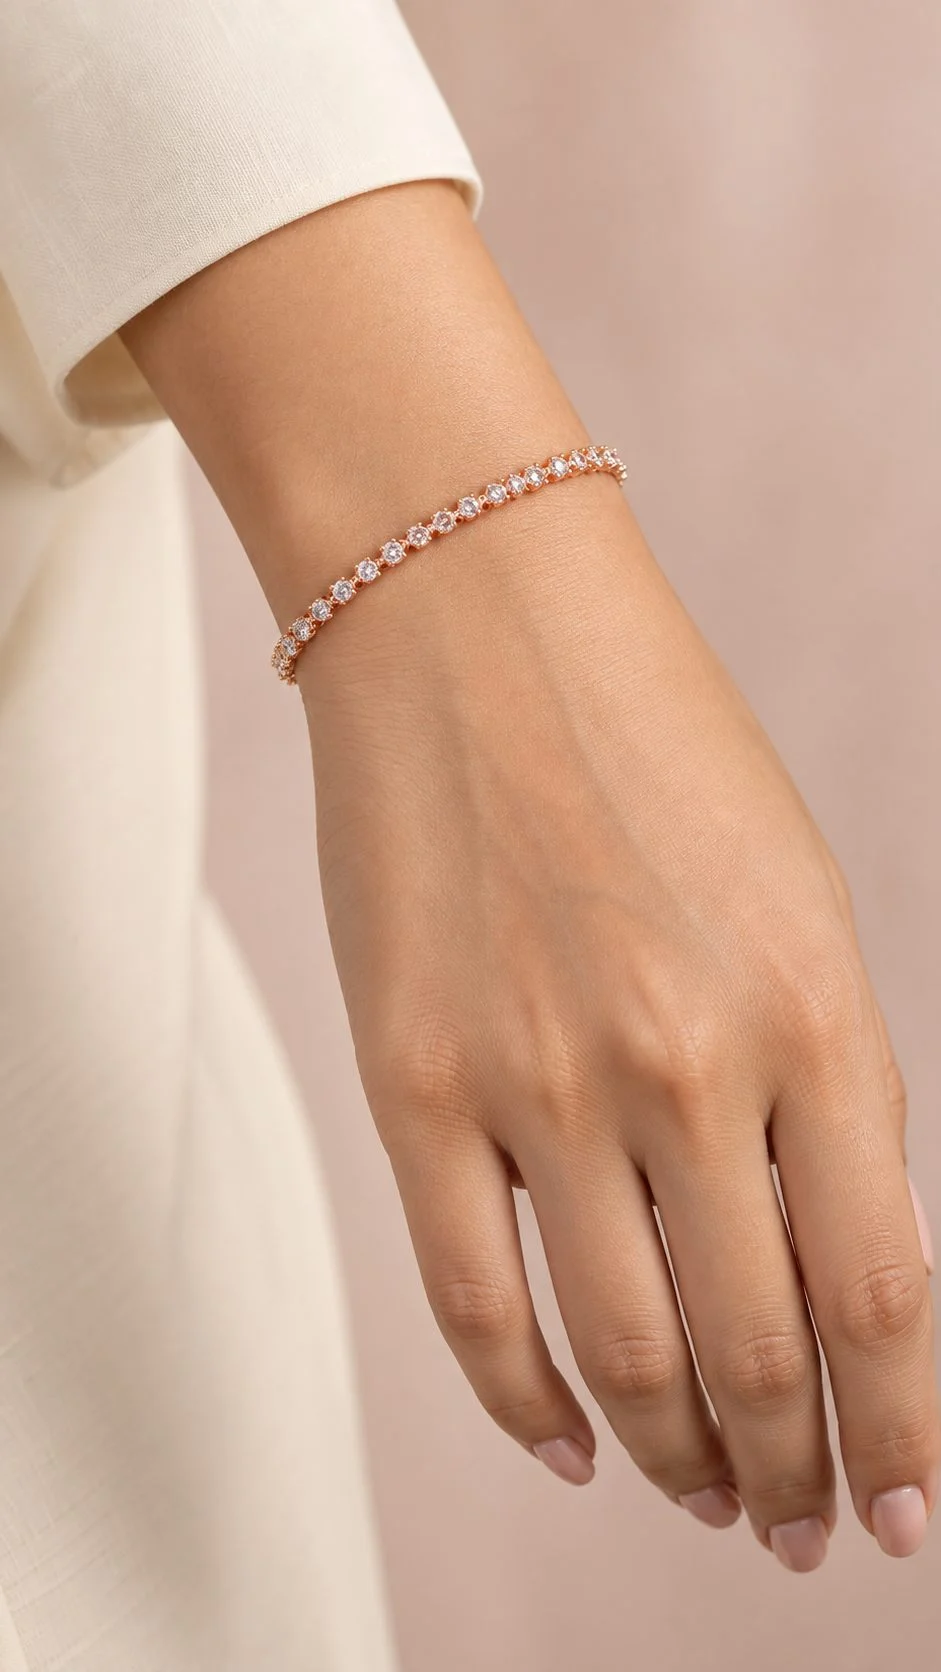
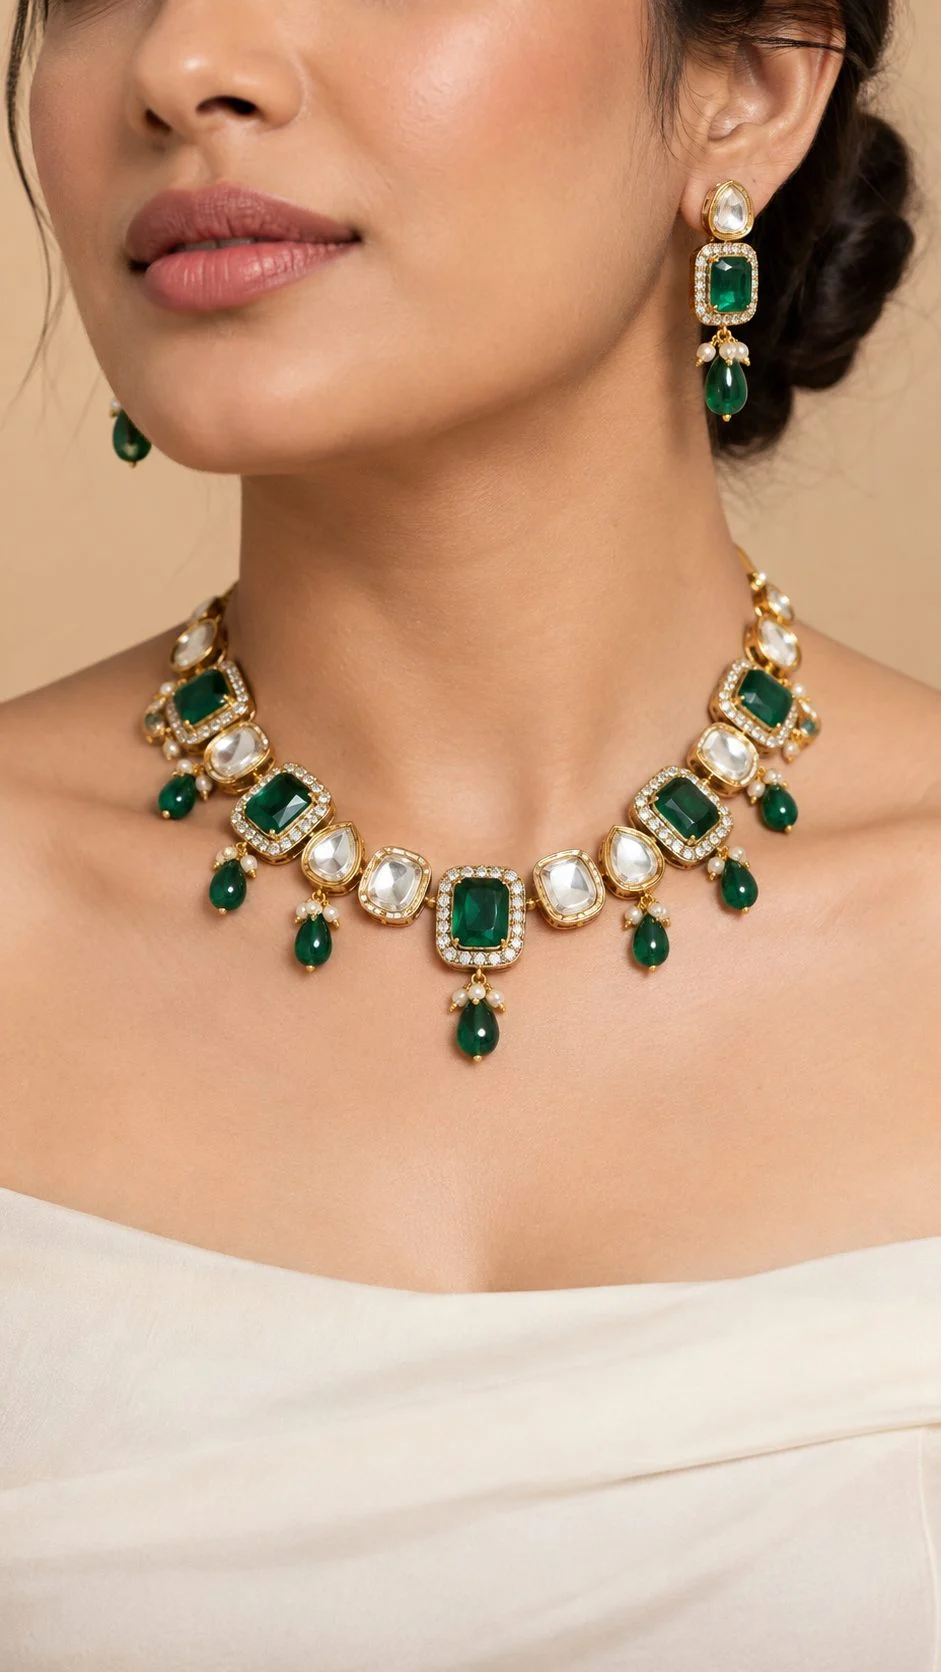
Diamond earrings and bracelets should be shot on model with soft, flattering light on the skin and a separate small source to keep the stones sparkling. On-model images answer the questions a packshot cannot: size, drop length and how the piece sits on the body. Keep styling minimal so the diamonds stay the hero.
For diamond earrings photography, we pull the model’s hair back, choose neutral makeup and shoot a three-quarter profile so the earring hangs clearly against the neck. For bracelets and tennis bracelets, a relaxed wrist on a neutral fabric gives scale and shows how the line of stones follows the arm. When a brand needs a full campaign look with styling and expressions, our on-model fashion shoots team joins the jewellery set.
Should you add a sparkle video to your diamond listings?
Yes, for any diamond piece above your entry price point a short sparkle video is worth adding. Scintillation only exists when the stone or the light moves, so a slow 10 to 25 second clip shows what a still photo cannot. It also answers the buyer’s unspoken question: does this really sparkle?
We shoot slow rotations on a turntable, gentle hand movements on model and a mirror-box clip for earrings. Our ecommerce video production team uses the same black and white card logic as the stills set, so the video and the images match. If you want a full spin view, the 360 jewellery spin video guide explains when a 360 turn is worth it.
What are the most common diamond jewellery photography mistakes?
The most common mistakes are over-diffused light, overexposure, dirty stones, coloured reflections and over-retouching. Each one makes a real diamond look either fake or dull, and each one has a simple studio fix. The table below lists what we see most often when sellers send us their old images.
| Mistake | What the buyer sees | Studio fix |
|---|---|---|
| Shooting inside a light tent | Milky, flat stone with no pattern | Open one side and add black cards near the stone |
| Auto exposure on white background | Blown-out table facet | Manual exposure for the brightest facet; light background separately |
| Fingerprints and dust | Grey haze, specks at zoom | Clean, gloves, blower before every angle |
| Coloured walls or clothing near set | Blue or yellow tint on white metal | Neutral surroundings, black flags, grey-card white balance |
| Heavy whitening of stones | Mismatch with certificate, returns | Retouch dust and scratches only; keep graded colour |
| Only top-down shots | No sense of setting height or scale | Add side, three-quarter and on-model views |
How much does diamond jewellery photography cost at Uniqs Studio?
At Uniqs Studio, jewellery packshots of rings and earrings are priced per product, with on-model images and reels charged separately. The official rates relevant to a diamond jewellery catalogue are listed below. Bulk catalogues are quoted after we see the product list.
| Shoot type | Images | Turnaround | Price |
|---|---|---|---|
| Jewellery (ring, earring) | 2–3 angles | 4–5 days | ₹300 / product |
| Model Photography | 5–6 angles | 4–5 days | ₹400 / product |
| Ecommerce Reels Video | 20–25 seconds | 4–5 days | ₹900 / product |
Prices are per product/image as listed; call or WhatsApp +91-8076745824 for bulk catalogue quotes.
Planning a diamond or lab-grown collection shoot? Call Satyam on +91-8076745824, message us on WhatsApp at +91-8076745824, or email [email protected] with your product list.
What should you check before a diamond jewellery shoot?
Before the shoot, confirm the product list, certificates, required angles and marketplace image sizes, and make sure every piece is clean and tagged. A clear brief saves hours on set and keeps the catalogue consistent. Use this checklist with your team before sending pieces to the studio.
- SKU list with metal type, stone type (natural or lab-grown) and carat details
- Grading certificates ready for any piece where a certificate image is required
- Required angles per category: front, side, top, on-model, video
- Marketplace or website image sizes and background rules
- Reference images of the look you like, and of the look you want to avoid
- Pieces cleaned, tagged and packed separately to avoid scratches
- Decision on retouching limits: dust and scratches only, no stone whitening
Diamond jewellery photography FAQs
These are the questions diamond and lab-grown jewellery brands ask us most often before booking a shoot. Each answer is short enough to act on today.
The best light for diamond jewellery photography is a mix of a broad soft source for the metal and one or two small hard sources for the stone, with black and white cards around the piece. Soft light alone makes diamonds look flat; small light creates fire and sparkle.
To make diamonds sparkle in photos, build contrast with black and white cards, add a small hard light for fire, expose for the brightest facet and keep the stone perfectly clean. A short rotating video then shows the live sparkle a still image cannot.
You can shoot basic social posts with a phone, but phone cameras struggle with tiny reflective stones, shallow macro focus and bright highlights. For marketplace listings and certificate close-ups, a full-frame camera, macro lens and focus stacking give far more accurate results.
No, lab-grown and natural diamonds use the same lighting technique because they share the same optical properties. The difference is in disclosure: listings should clearly state the stone is lab-grown, and images should not exaggerate colour or clarity.
At Uniqs Studio, jewellery photography for rings and earrings is ₹300 per product for 2–3 angles with a 4–5 day turnaround. On-model images are ₹400 per product and an ecommerce reels video is ₹900 per product.
Yes, but only to remove dust, lint, fingerprints and metal scratches, and to merge focus stacks. Inclusions, stone colour and the true shape of the setting should stay as they are, so the image matches the certificate and the product the buyer receives.
What is the next step after your diamond jewellery photography shoot?
Great diamond jewellery photography starts with contrast, honest exposure and clean stones, and finishes with careful, limited retouching. Follow the nine steps above and your images will show buyers the sparkle, metal colour and quality they expect when they open the box.
Uniqs Studio shoots diamond, lab-grown and fine jewellery for brands across Delhi, Gurgaon, Noida, Faridabad and Ghaziabad from our in-house studio in Kalkaji. Satyam and the team can review your current images and suggest which angles to reshoot first.
Ready to make your diamonds sparkle online?
Send your product list to [email protected] or WhatsApp +91-8076745824. Studio hours: Mon–Sat, 10 am–7 pm, 1800/9, Kalkaji Extension, Kalkaji, New Delhi 110019.