
Gold jewellery photography is the hardest kind of product shoot most jewellers will ever commission, because gold is a curved mirror that also carries a very specific colour. At Uniqs Studio we treat every gold piece as a lighting problem first and a camera problem second, and this guide shares the exact routine our team follows on set. If you would rather hand the whole job to specialists, our reflection-controlled jewellery photography service covers packshots, macro detail and on-model images under one roof.
I am Satyam, and over 9+ years of ecommerce production I have seen the same three complaints from gold brands again and again: the metal looks brown or orange, the reflections show the studio instead of the design, and the purity mark is a blur. You will learn why each problem happens, how to fix it with simple tools, and how to plan a gold jewellery photography session that sells on your website, Amazon and Myntra alike.
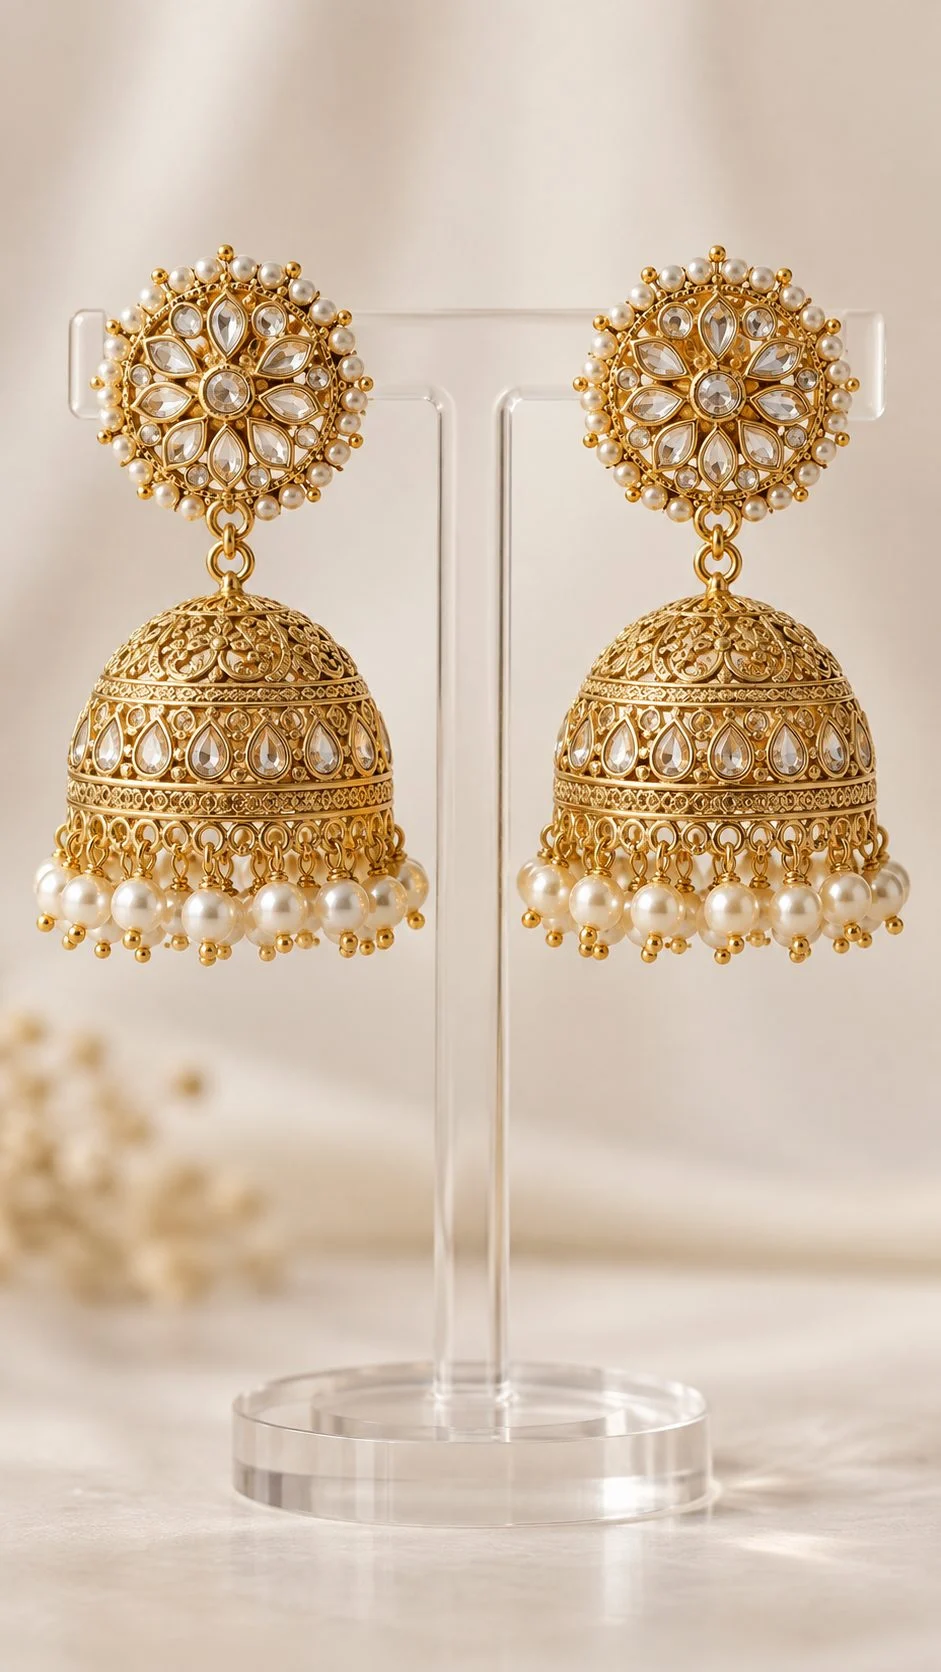
Key takeaways
- Gold reflects its surroundings, so you light gold by shaping what it sees: white scrims for glow, black cards for definition.
- Set a custom white balance from a grey card and shoot RAW; auto white balance is the main cause of orange or greenish gold.
- 22K, 18K and rose gold need different colour targets, so always compare the screen with the real piece under daylight.
- Hallmark close-ups need a macro lens, raking light and focus stacking to keep the HUID and purity mark readable.
- Professional gold jewellery photography protects buyer trust, which is the most expensive thing a jeweller sells online.
Why is gold jewellery photography harder than shooting other products?
Gold jewellery photography is harder because polished gold does not show its own surface; it shows a reflection of everything around it. On top of that, the camera has to reproduce a narrow band of warm yellow that buyers know by eye, so small lighting or colour errors look obviously wrong.
A cotton kurta or a steel bottle has a diffuse surface: light hits it and scatters, so the camera records its true texture. Polished gold is specular. Every curve of a bangle or jhumka behaves like a tiny mirror pointed in a slightly different direction, which is why the same piece can look rich and glowing in one frame and dull brown in the next. When the mirror sees a dark ceiling, the gold turns dark. When it sees a bright window, you get a burnt-out white streak.
Colour is the second trap. Indian buyers judge gold by its tone: the deep yellow of 22K temple jewellery, the paler shade of 18K diamond settings, the pink warmth of rose gold. A camera on auto settings tries to “neutralise” warm subjects, so it often pushes gold towards a cooler, brassy look, or the warm reflections from a tungsten bulb push it to orange. Neither matches what the customer receives, and that gap is exactly where returns and bad reviews begin.
The third trap is scale. A BIS hallmark on a ring shank is only a millimetre or two tall, so normal lenses cannot resolve it, and the curved, shiny surface makes focus and lighting even harder. Good gold jewellery photography solves all three problems together, and the next sections show how.
How do you control gold jewellery reflections in a studio?
You control gold jewellery reflections by deciding what the metal reflects: surround the piece with large, soft white surfaces for a clean glow, then add black cards in chosen places to draw dark lines that define the shape. Small, bare lights and a cluttered room are what create hotspots and messy mirror images.
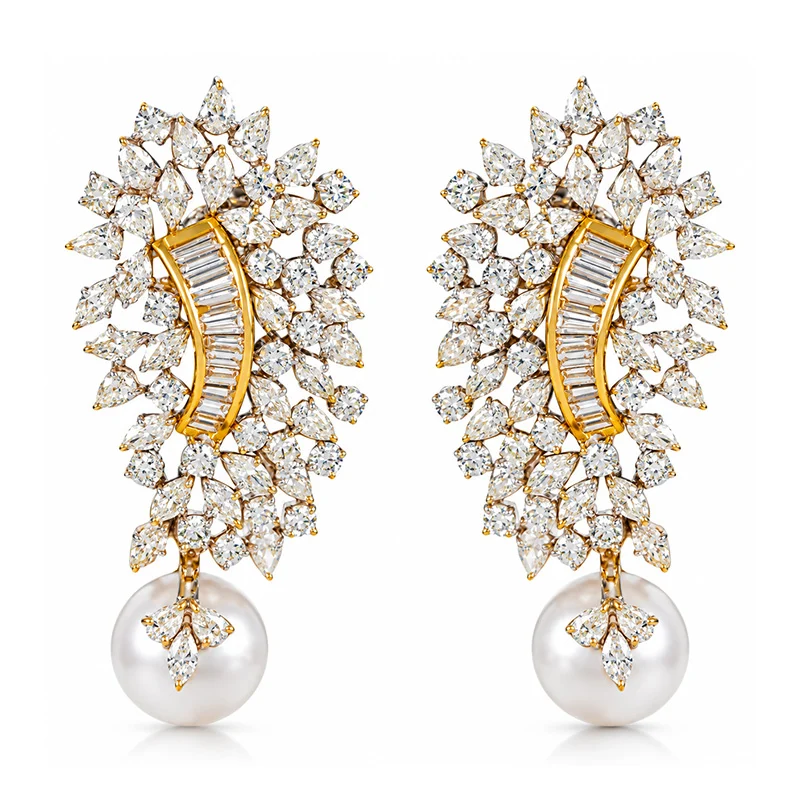
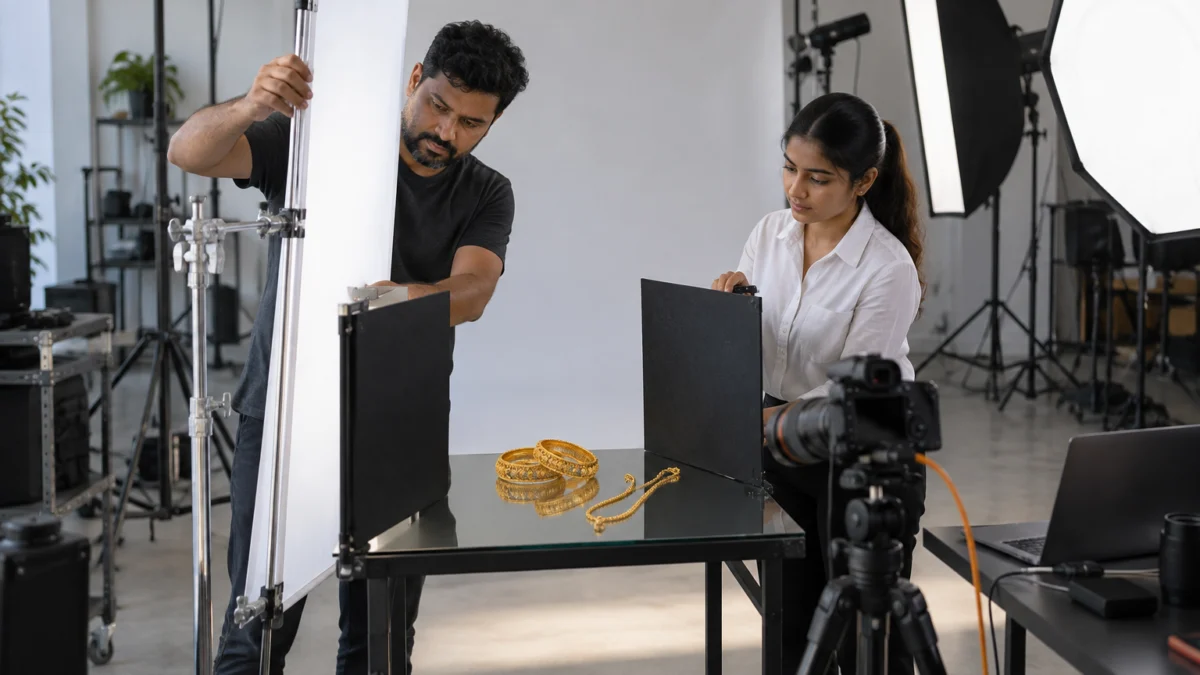
Build a light tent or scrim wall around the piece
The easiest way to photograph gold jewellery cleanly is to place it inside a white environment. On our set that means a tabletop surrounded by translucent diffusion scrims, with strobes and strip softboxes firing through them. The gold now reflects a large, even white surface instead of a lamp, so highlights spread into smooth gradients. A shop-bought light tent works for small sellers, but make sure its seams and zips are outside the camera’s view, because gold will reflect them faithfully.
Add black cards for shape and depth
An all-white environment can make gold look flat and pale, almost like brass. The fix is to add black flags: thin black cards placed just outside the frame so that specific facets of the piece reflect them. On a plain bangle we usually place one black card above the camera and one at the side, which gives a dark band running around the curve. That band is what tells the eye “this is solid, polished metal”. Move the card a few centimetres and watch the line move; this is where most of the craft in gold jewellery photography actually lives.
Raise the camera and hide it from the reflection
On flat pendants, coins and wide bangle faces, the camera itself often appears in the reflection as a dark circle. Shoot from a slightly higher or lower angle, use a longer lens such as a 100mm macro so the camera can stand further back, and cut a hole in a white card for the lens to peek through. That last trick, sometimes called a “lens card”, makes the camera almost disappear from the gold surface.
Do polarising filters stop reflections on gold?
Not really. A normal polarising filter cuts glare from non-metallic surfaces such as glass, water or lacquer, but reflections from bare metal stay largely polarised the same way as the light source, so the filter mainly darkens the image. Studios that need extra control use cross-polarisation, with polarising gels on the lights as well as the lens, but for most gold catalogue work careful scrims and black cards give a cleaner, more natural result. We also avoid dulling sprays on ecommerce jobs because they change how the piece really looks.
- Clean every piece with a microfibre cloth and handle it only with lint-free cotton gloves.
- Use the largest, softest light source you can fit around the set.
- Place black cards deliberately; remove any card that does not improve the shape.
- Clear the room behind the camera of bright clothes, screens and windows.
- Check reflections at 100% zoom on a tethered laptop, not on the camera’s small screen.
How do you get true yellow tones and avoid an orange tint in gold photos?
To get true yellow tones, set a custom white balance from a grey card under your actual studio lights, shoot RAW, and correct colour against the physical piece viewed in daylight. Orange or greenish gold almost always comes from auto white balance, mixed light sources or warm reflections from the room.
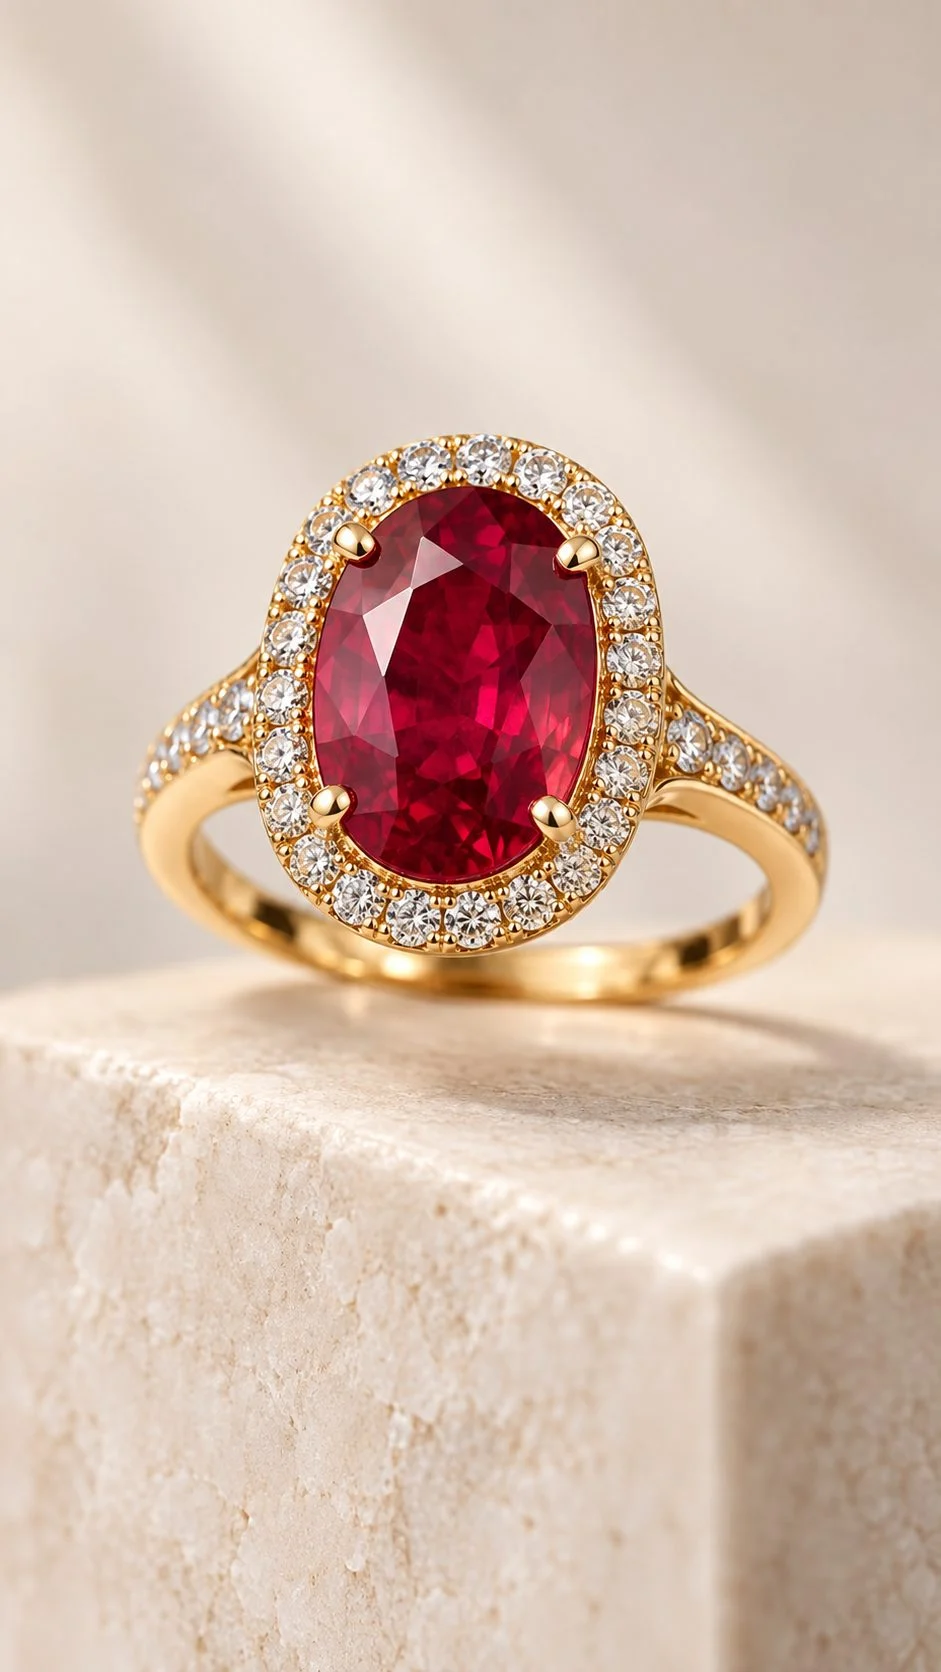
Use one light type and a custom white balance
Never mix daylight from a window with LED panels or a warm bulb on the same set. Each source has a different colour temperature, and gold reflects all of them at once, so one side of a bangle turns cool while the other turns orange. Close the curtains, use matched strobes or matched LEDs, place a grey card where the jewellery sits, and set a custom white balance from it. Keep that setting locked for the full session so every SKU in the catalogue matches.
Match 22K, 18K and rose gold tones separately
Different gold alloys need different targets. High-karat 22K jewellery should look deep, rich yellow; 18K settings in diamond pieces are slightly paler; rose gold should read as pink-gold, never copper. In our workflow the retoucher keeps a reference shot of each alloy and compares the screen with the real piece under a daylight-balanced lamp. Gold colour correction is then done with small, targeted hue and saturation changes on the metal only, so the stones, pearls and enamel stay true.
Avoid the “orange gold” and “brown gold” look
If your gold looks orange, it is usually over-saturated or reflecting a warm wall. If it looks brown or muddy, it is reflecting something dark such as the ceiling or the photographer’s clothes. Fix the cause on set first, then fine-tune in editing. Pushing saturation sliders to rescue a badly lit photo is the fastest way to make gold look fake, and buyers comparing your listing with the real piece will notice.
How do you take a sharp hallmark close-up photo of gold jewellery?
Use a true macro lens at around life-size magnification, light the mark with low-angle raking light so the stamped characters cast tiny shadows, and combine several frames with focus stacking. This keeps the BIS logo, purity grade and HUID readable from edge to edge.
Since hallmarking became mandatory in phases across India, many buyers look for the purity mark before they trust an online jeweller. The Bureau of Indian Standards explains the hallmark components, and a clear photo of that mark on your product page answers the buyer’s question before it is asked. A hallmark close up photo also reduces “is this real gold?” queries on WhatsApp and marketplace chats.
- Clean the mark area. Dust and skin oils inside the stamped letters show up as grey smudges at macro size.
- Position the piece so the mark is flat to the lens. Use putty or a small clamp hidden from view; ring shanks need a slight tilt.
- Light from a low angle. A small softbox or LED panel placed almost level with the surface makes the stamped characters cast shadows, so they read clearly.
- Shoot a focus stack. Take 8–20 frames while moving focus slightly each time, then merge them with focus stacking software so the curved surface is sharp everywhere.
- Retouch lightly. Remove dust only; never alter, sharpen-in or redraw any character of the mark.
If you want to go deeper on lenses, magnification and stacking, our guide to macro photography for rings, gemstones and engravings covers the technical side in more detail. For marketplace-specific image slots, see how a hallmark shot fits into the Amazon jewellery image requirements gallery order.
How should you photograph bridal gold jewellery sets on a model?
Photograph bridal gold jewellery with soft frontal light from a large octabox, a model styled in plain or tone-matched clothing, and a separate set of tight crops for each piece. The goal is to show scale, how the set sits on the body, and the gold’s colour against real skin.
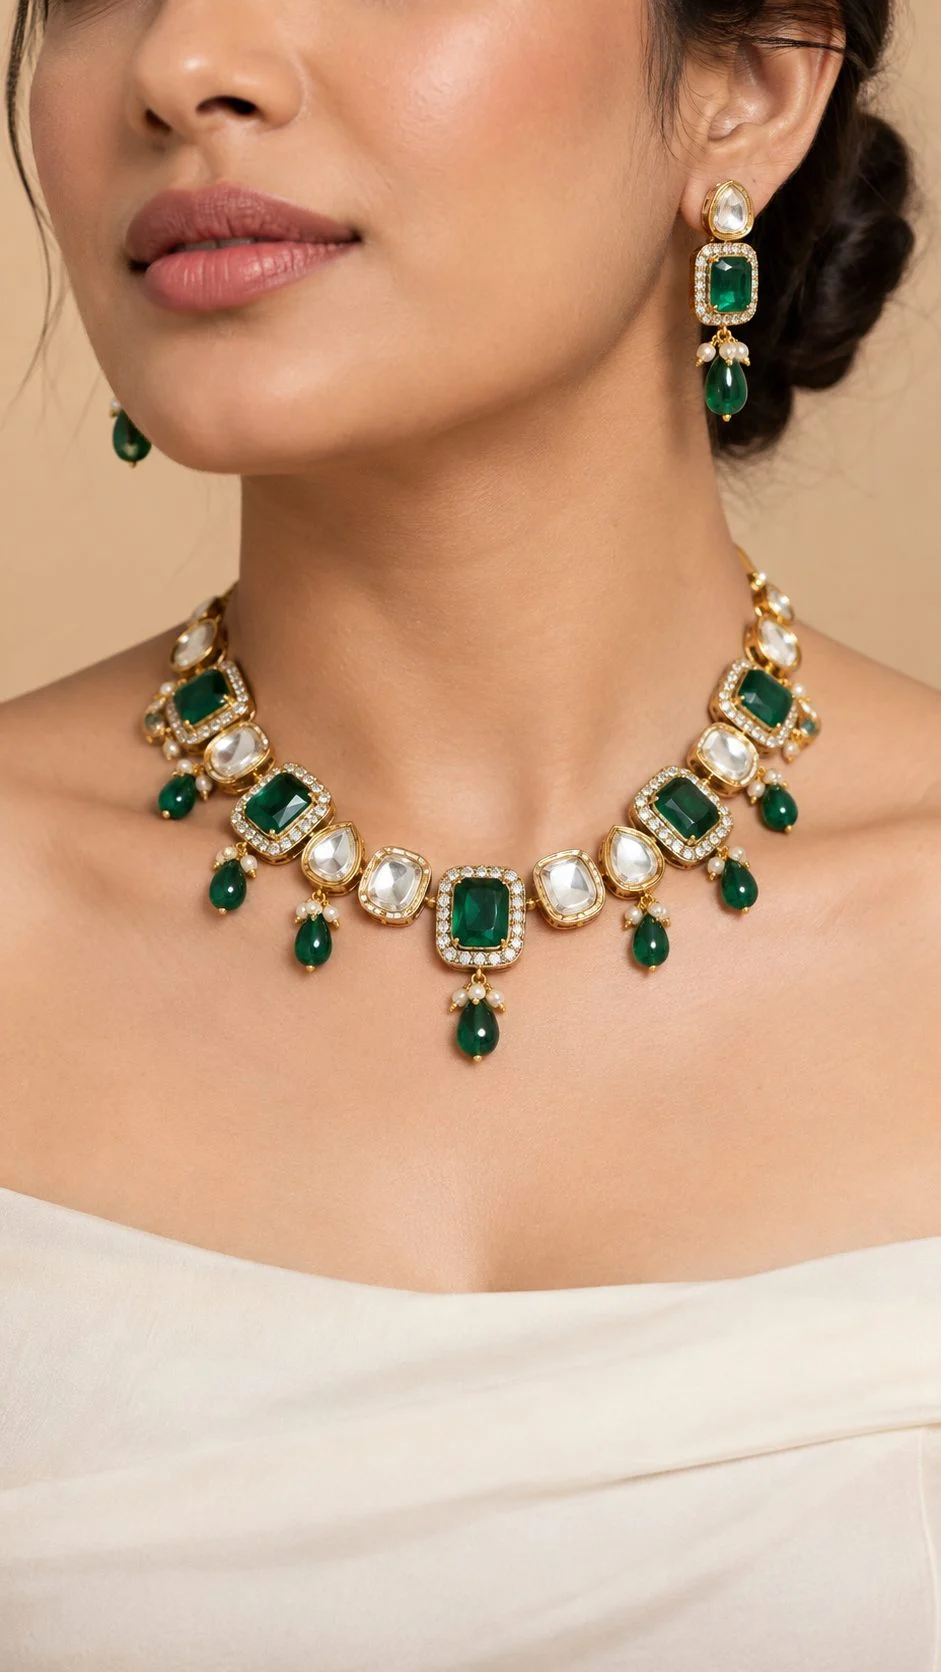
A heavy bridal choker or rani haar looks completely different on a neck than it does on a bust form. Buyers want to know how long the layers fall, how wide the earrings are next to a face, and whether the maang tikka sits on the hairline. For this part of the catalogue we combine jewellery lighting with on-model fashion shoots, so the styling, hair and makeup support the gold rather than compete with it.
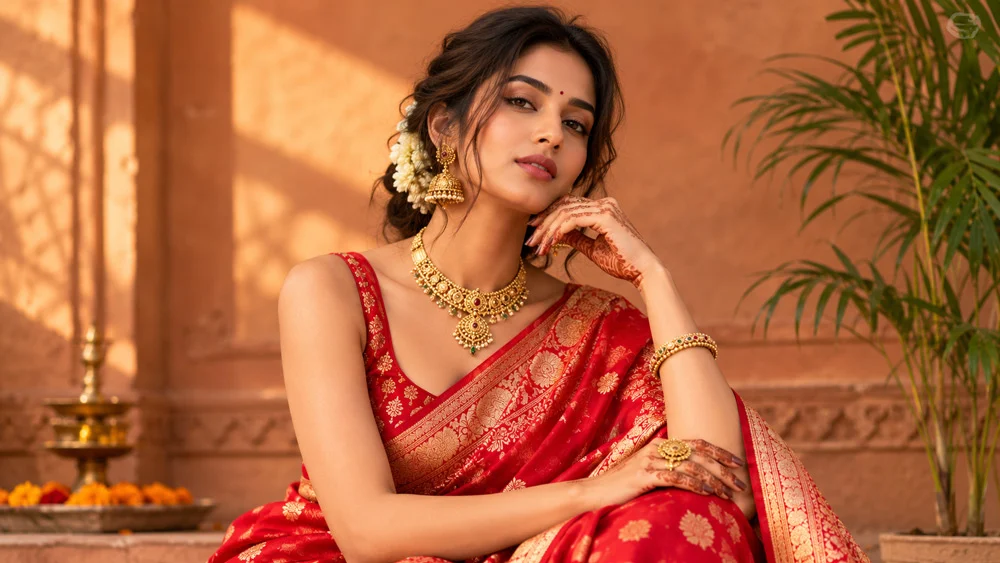
Styling rules for a bridal gold jewellery shoot
- Keep the neckline clean. Off-shoulder or boat necks for chokers; deep necks for long haars.
- Choose outfit colours that flatter gold. Maroon, ivory, emerald and deep red work; busy prints fight the design.
- Use natural, even makeup. Heavy shimmer on the skin creates extra specular highlights next to the metal.
- Shoot the full set, then each piece. Necklace crop, earring profile, bangle stack on wrist, tikka from the front.
- Watch the reflections on skin. Gold throws a warm glow onto the neck; a small white card below the chin keeps it natural.
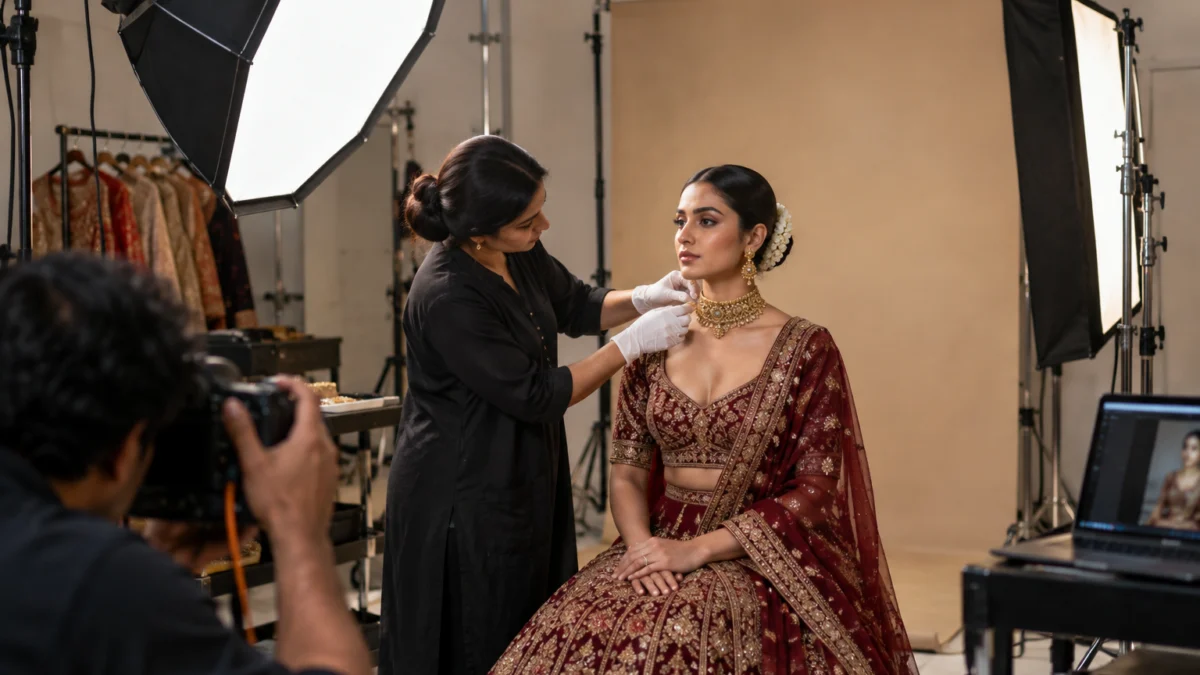
Motion sells gold too. A slow turn of the head or a hand moving under light shows sparkle and weight in a way that a still image cannot. Many of our jewellery clients add short ecommerce videos to the same shoot day, so the model, styling and lighting are already in place. You can also explore 360 jewellery spin videos for rings and bangles.
Which gold jewellery product photos does every listing need?
Every gold SKU needs a clean front packshot, a side or angle view, a macro detail shot, a hallmark close-up and a scale reference on a model or hand. Bridal sets add a full-set image and individual crops of each piece.
| Shot | Purpose | Lighting focus |
|---|---|---|
| Front packshot (white) | Main image, marketplace compliance | Even scrim light, black edge cards |
| Angle / side view | Depth, thickness, back finish | Gradient highlight along the curve |
| Macro detail | Filigree, meenakari, stone setting | Soft light plus focus stacking |
| Hallmark close-up | Purity proof and buyer trust | Low-angle raking light |
| On-model / on-hand | Scale, drape and skin-tone match | Large octabox, white fill card |
| Lifestyle / mood | Social media, banners, A+ content | Warm, directional, styled props |
For a mirror-style earring presentation, a mirror box gives a reflection of the back of the piece in the same frame, which is useful for jhumkas and chandbalis with enamel on the reverse. The short clip below shows the idea.
What are the most common gold jewellery photography mistakes?
The most common mistakes are auto white balance, small hard lights, a cluttered room reflected in the metal, over-saturated editing and skipping the hallmark shot. Each one makes gold look cheaper or less trustworthy than it really is.
| Mistake | What buyers see | Fix |
|---|---|---|
| Auto white balance | Brassy or greenish gold | Custom white balance from a grey card |
| Bare or small lights | White hotspots, black holes | Large scrims and strip boxes |
| Mixed light sources | Two colours on one bangle | One light type, curtains closed |
| Heavy saturation | Orange, plastic-looking gold | Fix light on set; edit the metal only |
| Fingerprints and dust | Smudges at zoom | Gloves, microfibre, blower |
| No hallmark shot | Doubt about purity | Macro hallmark close-up in gallery |
One more mistake deserves a mention: using AI-generated jewellery images in place of real photos. AI tools often invent extra stones, change the pattern of a chain or produce an impossible clasp. With gold, where the buyer is paying for weight, purity and craft, a picture that does not match the real piece is a direct path to returns and complaints. Real gold jewellery photography of the actual SKU is still the only safe choice for a listing.
How much does professional gold jewellery photography cost?
At Uniqs Studio, jewellery packshots (ring, earring) are priced per product, with model photography and video priced separately. The table below shows the official rates for the shoot types gold brands use most.
| Shoot type | Images | Turnaround | Price |
|---|---|---|---|
| Jewellery (ring, earring) | 2–3 angles | 4–5 days | ₹300 / product |
| Model Photography | 5–6 angles | 4–5 days | ₹400 / product |
| Ecommerce Reels Video | 20–25 seconds | 4–5 days | ₹900 / product |
Prices are per product/image as listed; call or WhatsApp +91-8076745824 for bulk catalogue quotes.
Planning a gold catalogue? Call +91-8076745824 or send your SKU list on WhatsApp at +91-8076745824 and our team will suggest the right mix of packshots, model images and video.
What should your gold jewellery photography checklist include?
Your checklist should cover piece preparation, light setup, colour reference, shot list and file delivery. Ticking these off before the first frame saves hours of retouching later.
- Every piece cleaned, tagged with its SKU and stored in a soft tray.
- Alloy and karat noted for each SKU (22K, 18K, rose gold) for colour matching.
- Scrims, strip boxes and black cards set; room cleared of bright objects.
- Grey card and colour chart captured; custom white balance locked.
- Shot list agreed: packshot, angle, macro, hallmark, on-model, lifestyle.
- Marketplace sizes and background rules confirmed before export.
- Final colour checked against the real piece under daylight-balanced light.
Over the past 9+ years, Uniqs Studio has worked with 500+ D2C brands and marketplace sellers from our in-house studio in Delhi, and this checklist is the same one our team prints for every jewellery day. If you have questions about your own catalogue, email [email protected] with a few phone photos of the pieces and we will tell you what to expect.
Frequently asked questions about gold jewellery photography
These are the questions gold jewellers and D2C jewellery sellers ask us most often before booking a shoot. Tap a question to see the short answer.
Gold usually looks orange because of warm light sources, reflections from warm walls or too much saturation in editing. Use one light type, set a custom white balance from a grey card and correct only the metal while comparing it with the real piece.
The best lighting for gold is large and soft: strobes or LEDs firing through diffusion scrims or a light tent, plus black cards placed to create defining dark lines. Small bare lights cause hotspots on polished gold.
A phone can work for quick social posts if you use a light tent, lock exposure and turn off beauty filters. For catalogue images, hallmark close-ups and consistent colour across many SKUs, a full-frame camera with a macro lens gives far more control.
Clean the mark, use a macro lens at close to life-size, light it with low-angle raking light and merge several frames with focus stacking. Retouch only dust and never alter the characters of the mark.
Both. White-background packshots meet marketplace rules and show the design clearly, while on-model images show scale, drape and how the gold looks against skin. Bridal sets especially need on-model images.
Jewellery (ring, earring) packshots are ₹300 per product for 2–3 angles with 4–5 days turnaround. Model photography is ₹400 per product and ecommerce reels video is ₹900 per product.
What is the next step after your gold jewellery shoot?
Once the images are captured, the next step is careful post-production: dust removal, colour matching and marketplace-ready exports. That stage decides whether your gold looks premium or artificial.
Good capture makes editing faster, but every gold image still needs a disciplined finishing workflow. Read our guide on jewellery post-production after the shoot to see how retouchers clean metal, protect stone colour and export files for each platform. When you are ready to plan your own gold catalogue, Satyam and the team are a call away on +91-8076745824, or you can share your requirements through our studio contact form.
Make your gold look exactly as rich as it is
Uniqs Studio shoots gold packshots, hallmark macros, bridal on-model sets and jewellery videos at our studio in Kalkaji, New Delhi, for brands across Delhi, Gurgaon, Noida, Faridabad and Ghaziabad. Call Satyam on +91-8076745824, WhatsApp +91-8076745824 or email [email protected]. Open Mon–Sat, 10 am–7 pm.